By hammer and blade, the world was made.
The process of forging iron and steel into tools and weapons has been around since before 3200 BC.
-
Cutting the bar.
It all begins with a piece of steel. Typically, for a Japanese style knife, I will use a hot cut hardy to make a starting piece. I’ll then use a hot rasp to remove any rough edges where I cut the steel.
-

Forging the tang.
Japanese cutlery uses a design named hidden tang, where the blade’s dimensions reduce to fit inside a handle. First, a cut is made with another hardy tool known as a butcher. A shoulder is set into the steel on the side of the anvil and an elongated piece is formed with what becomes a narrowing taper.
-
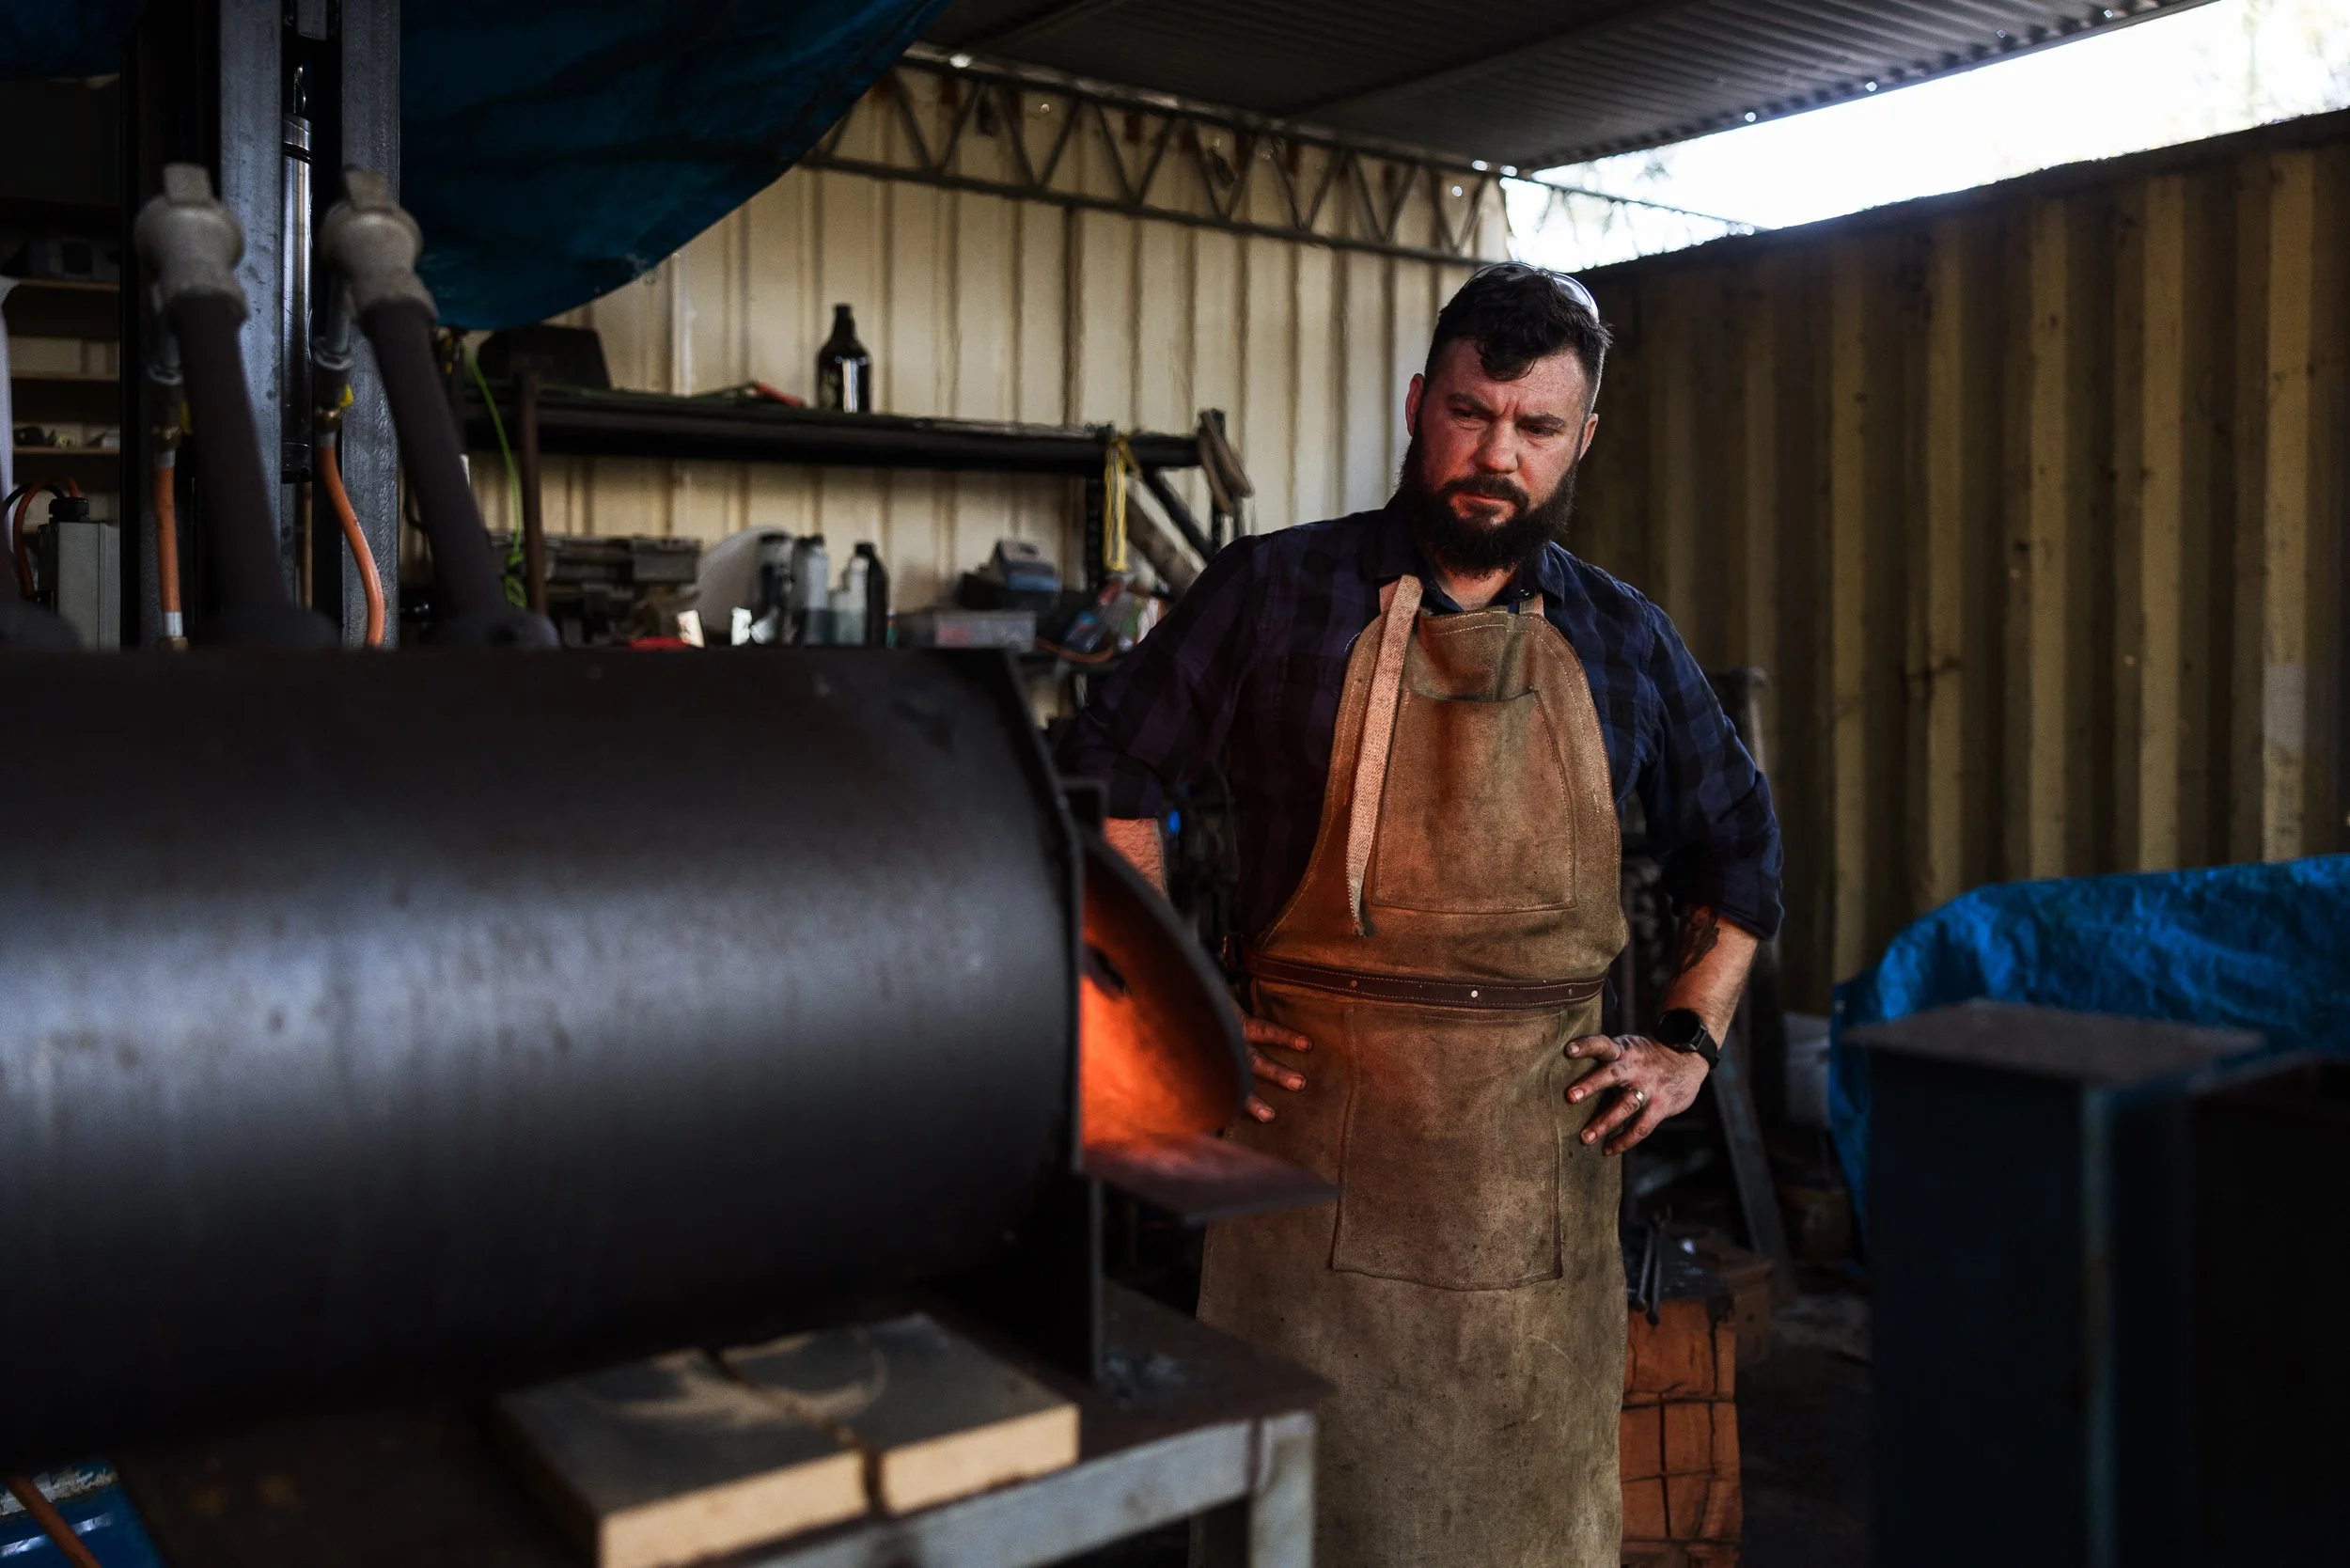
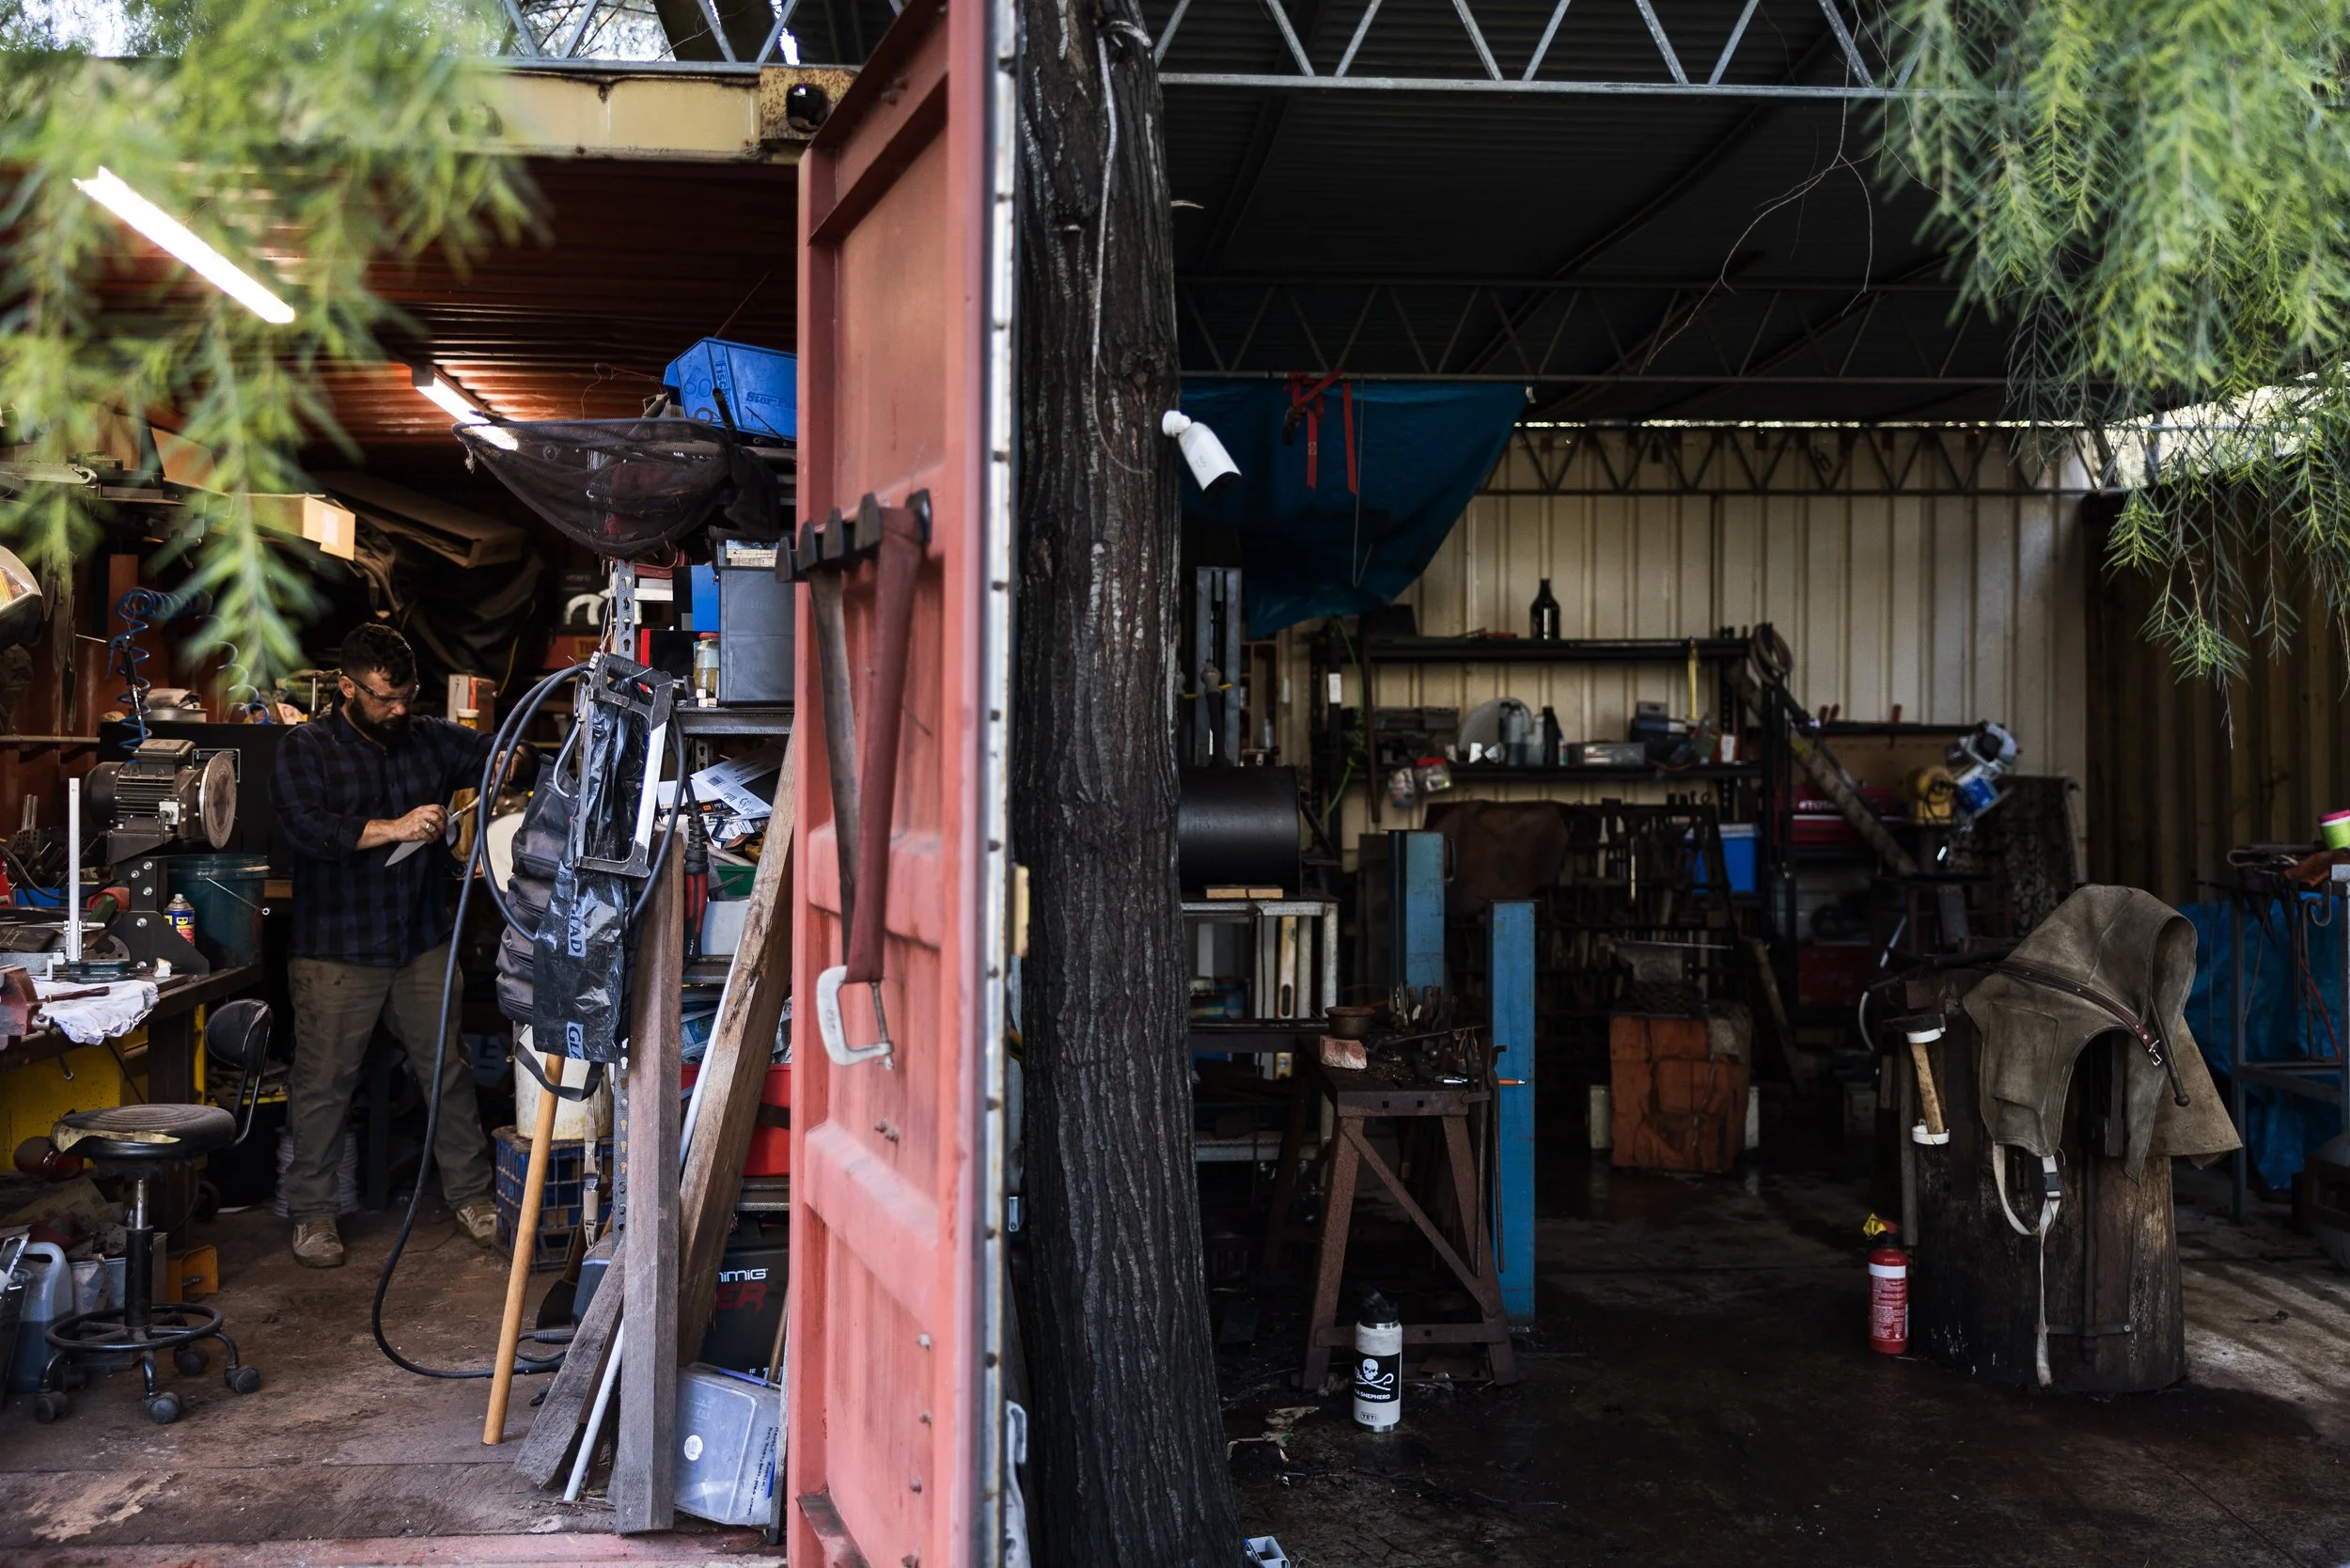
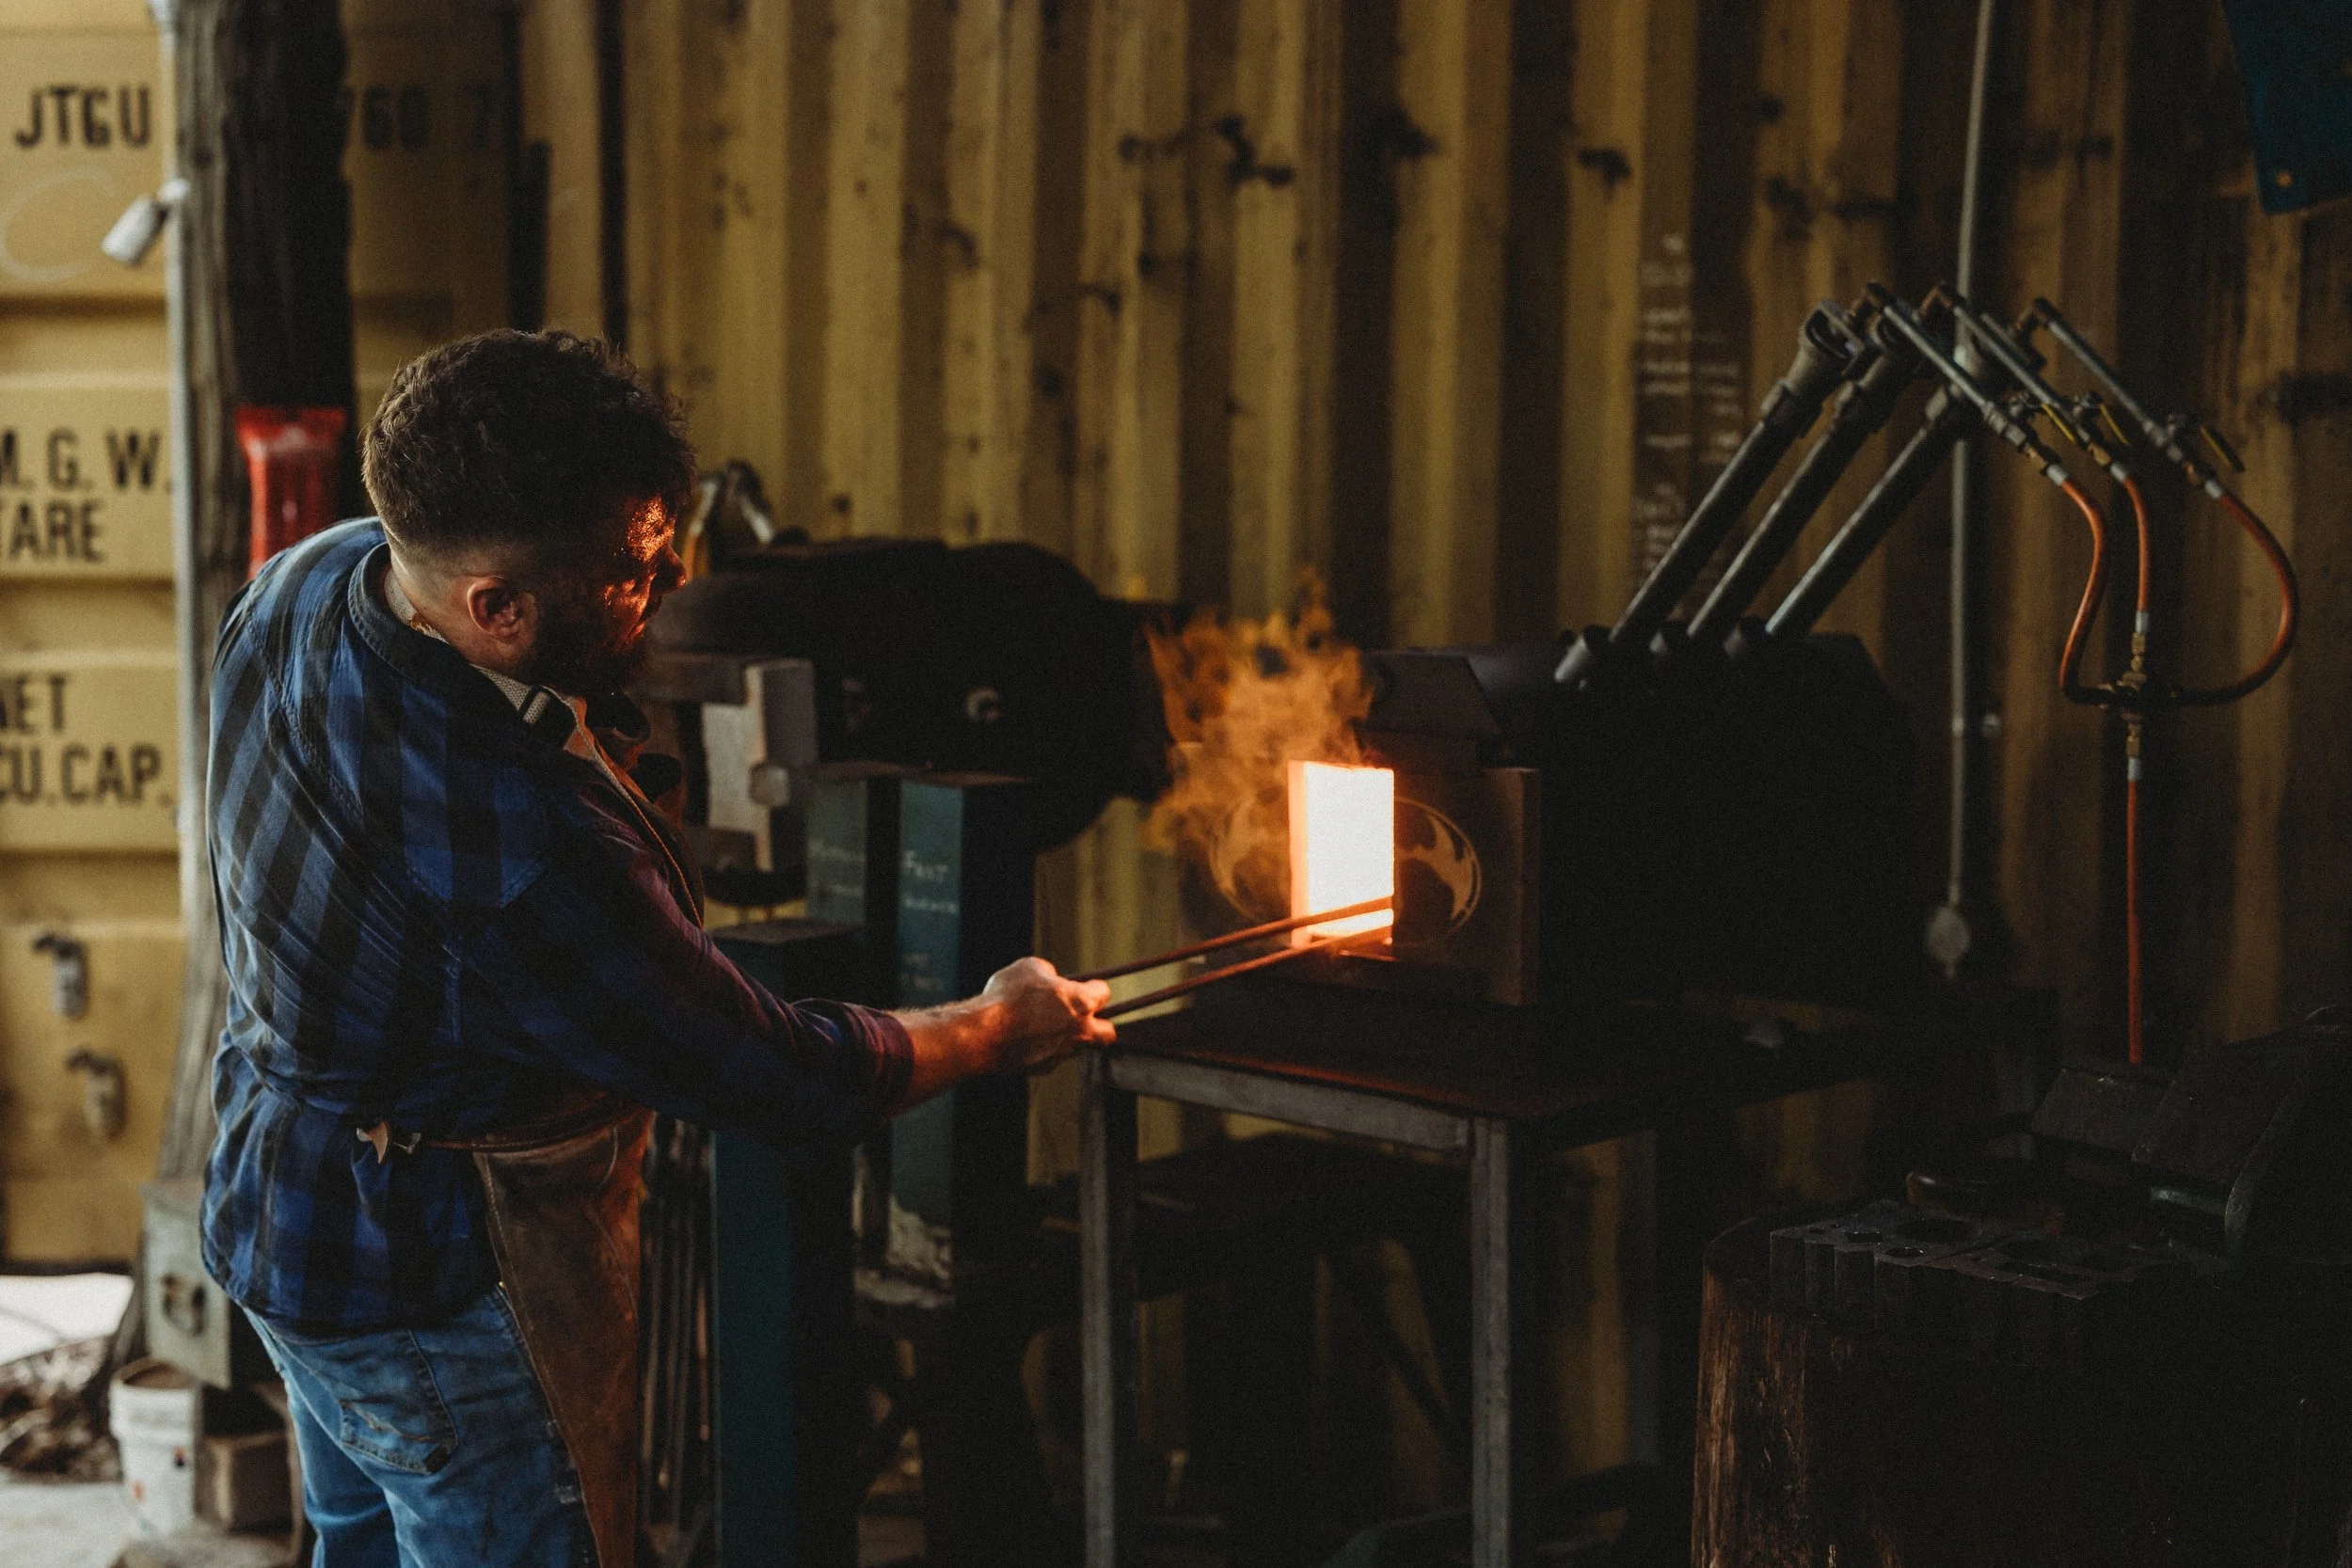
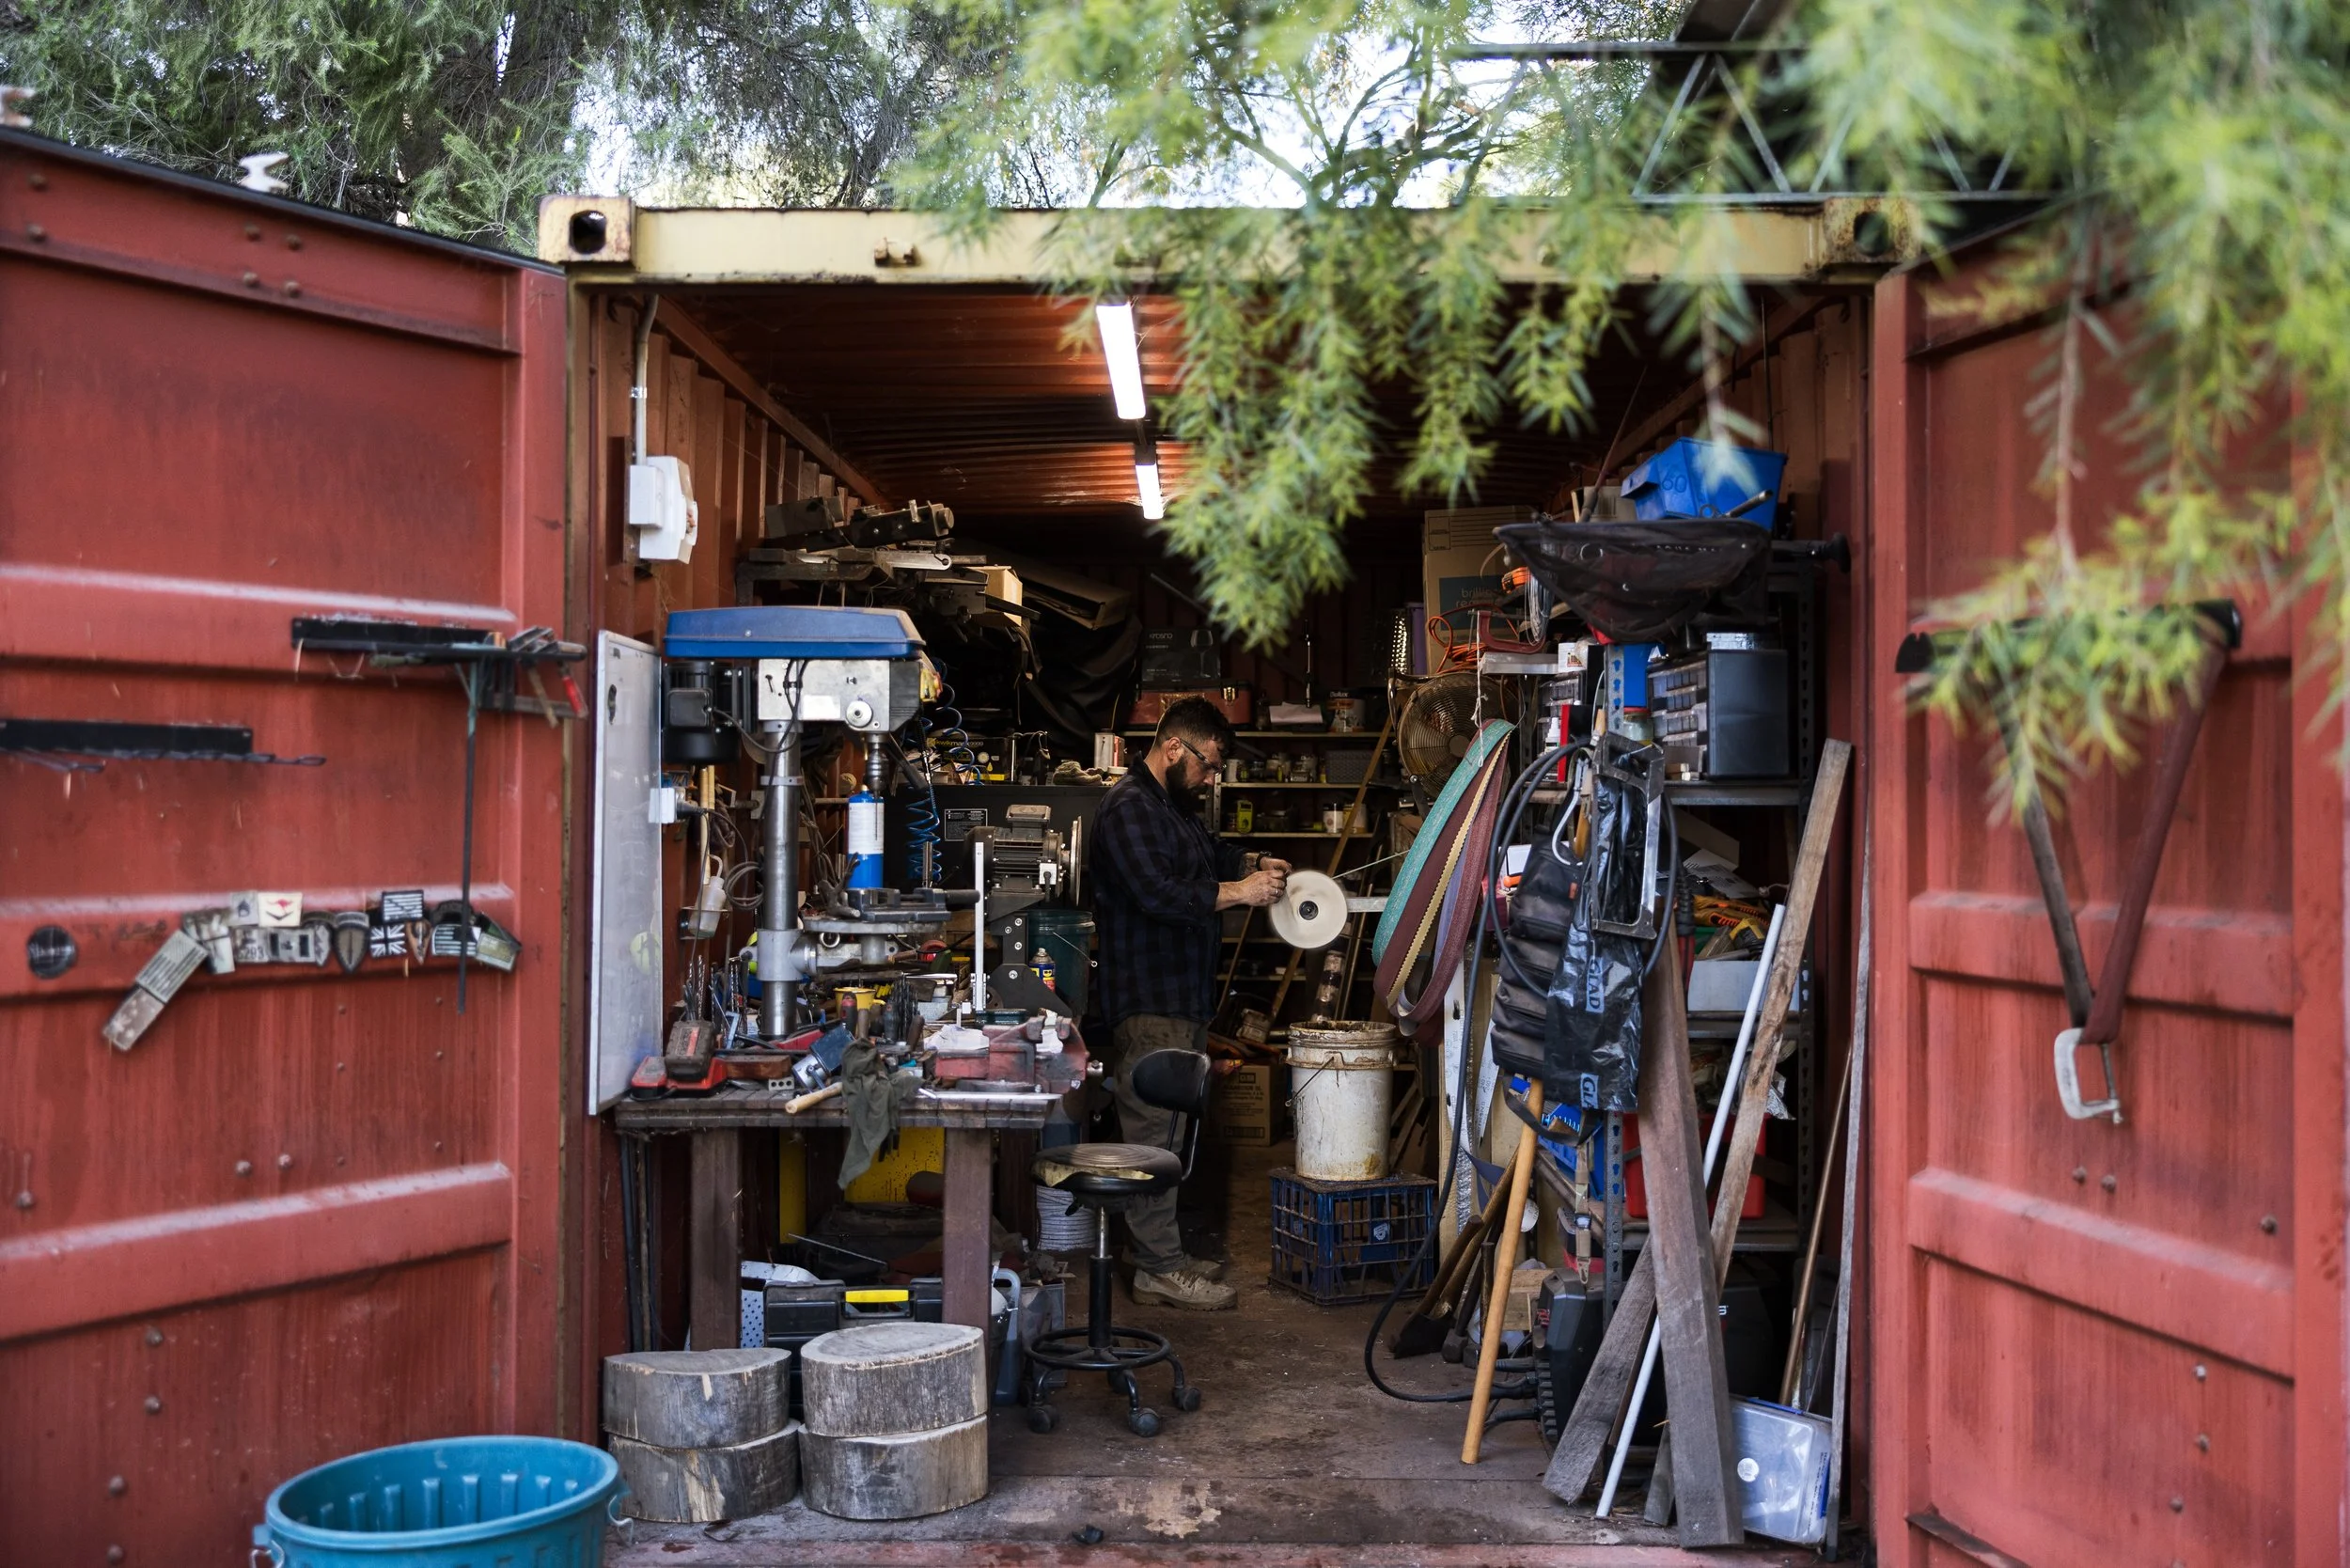
The forge itself.
Forges have been used for millenia and often use charcoal or coke for fuels due to the simplicity of their operation. In this era, it isn’t feasible to operate a charcoal forge due to costs. I use a triple burner gas forge to rapidly heat steel to working temperatures ranging between 750° and 1100° celcius. Working with these temperature requires care and attention to avoid damaging the steel.
-
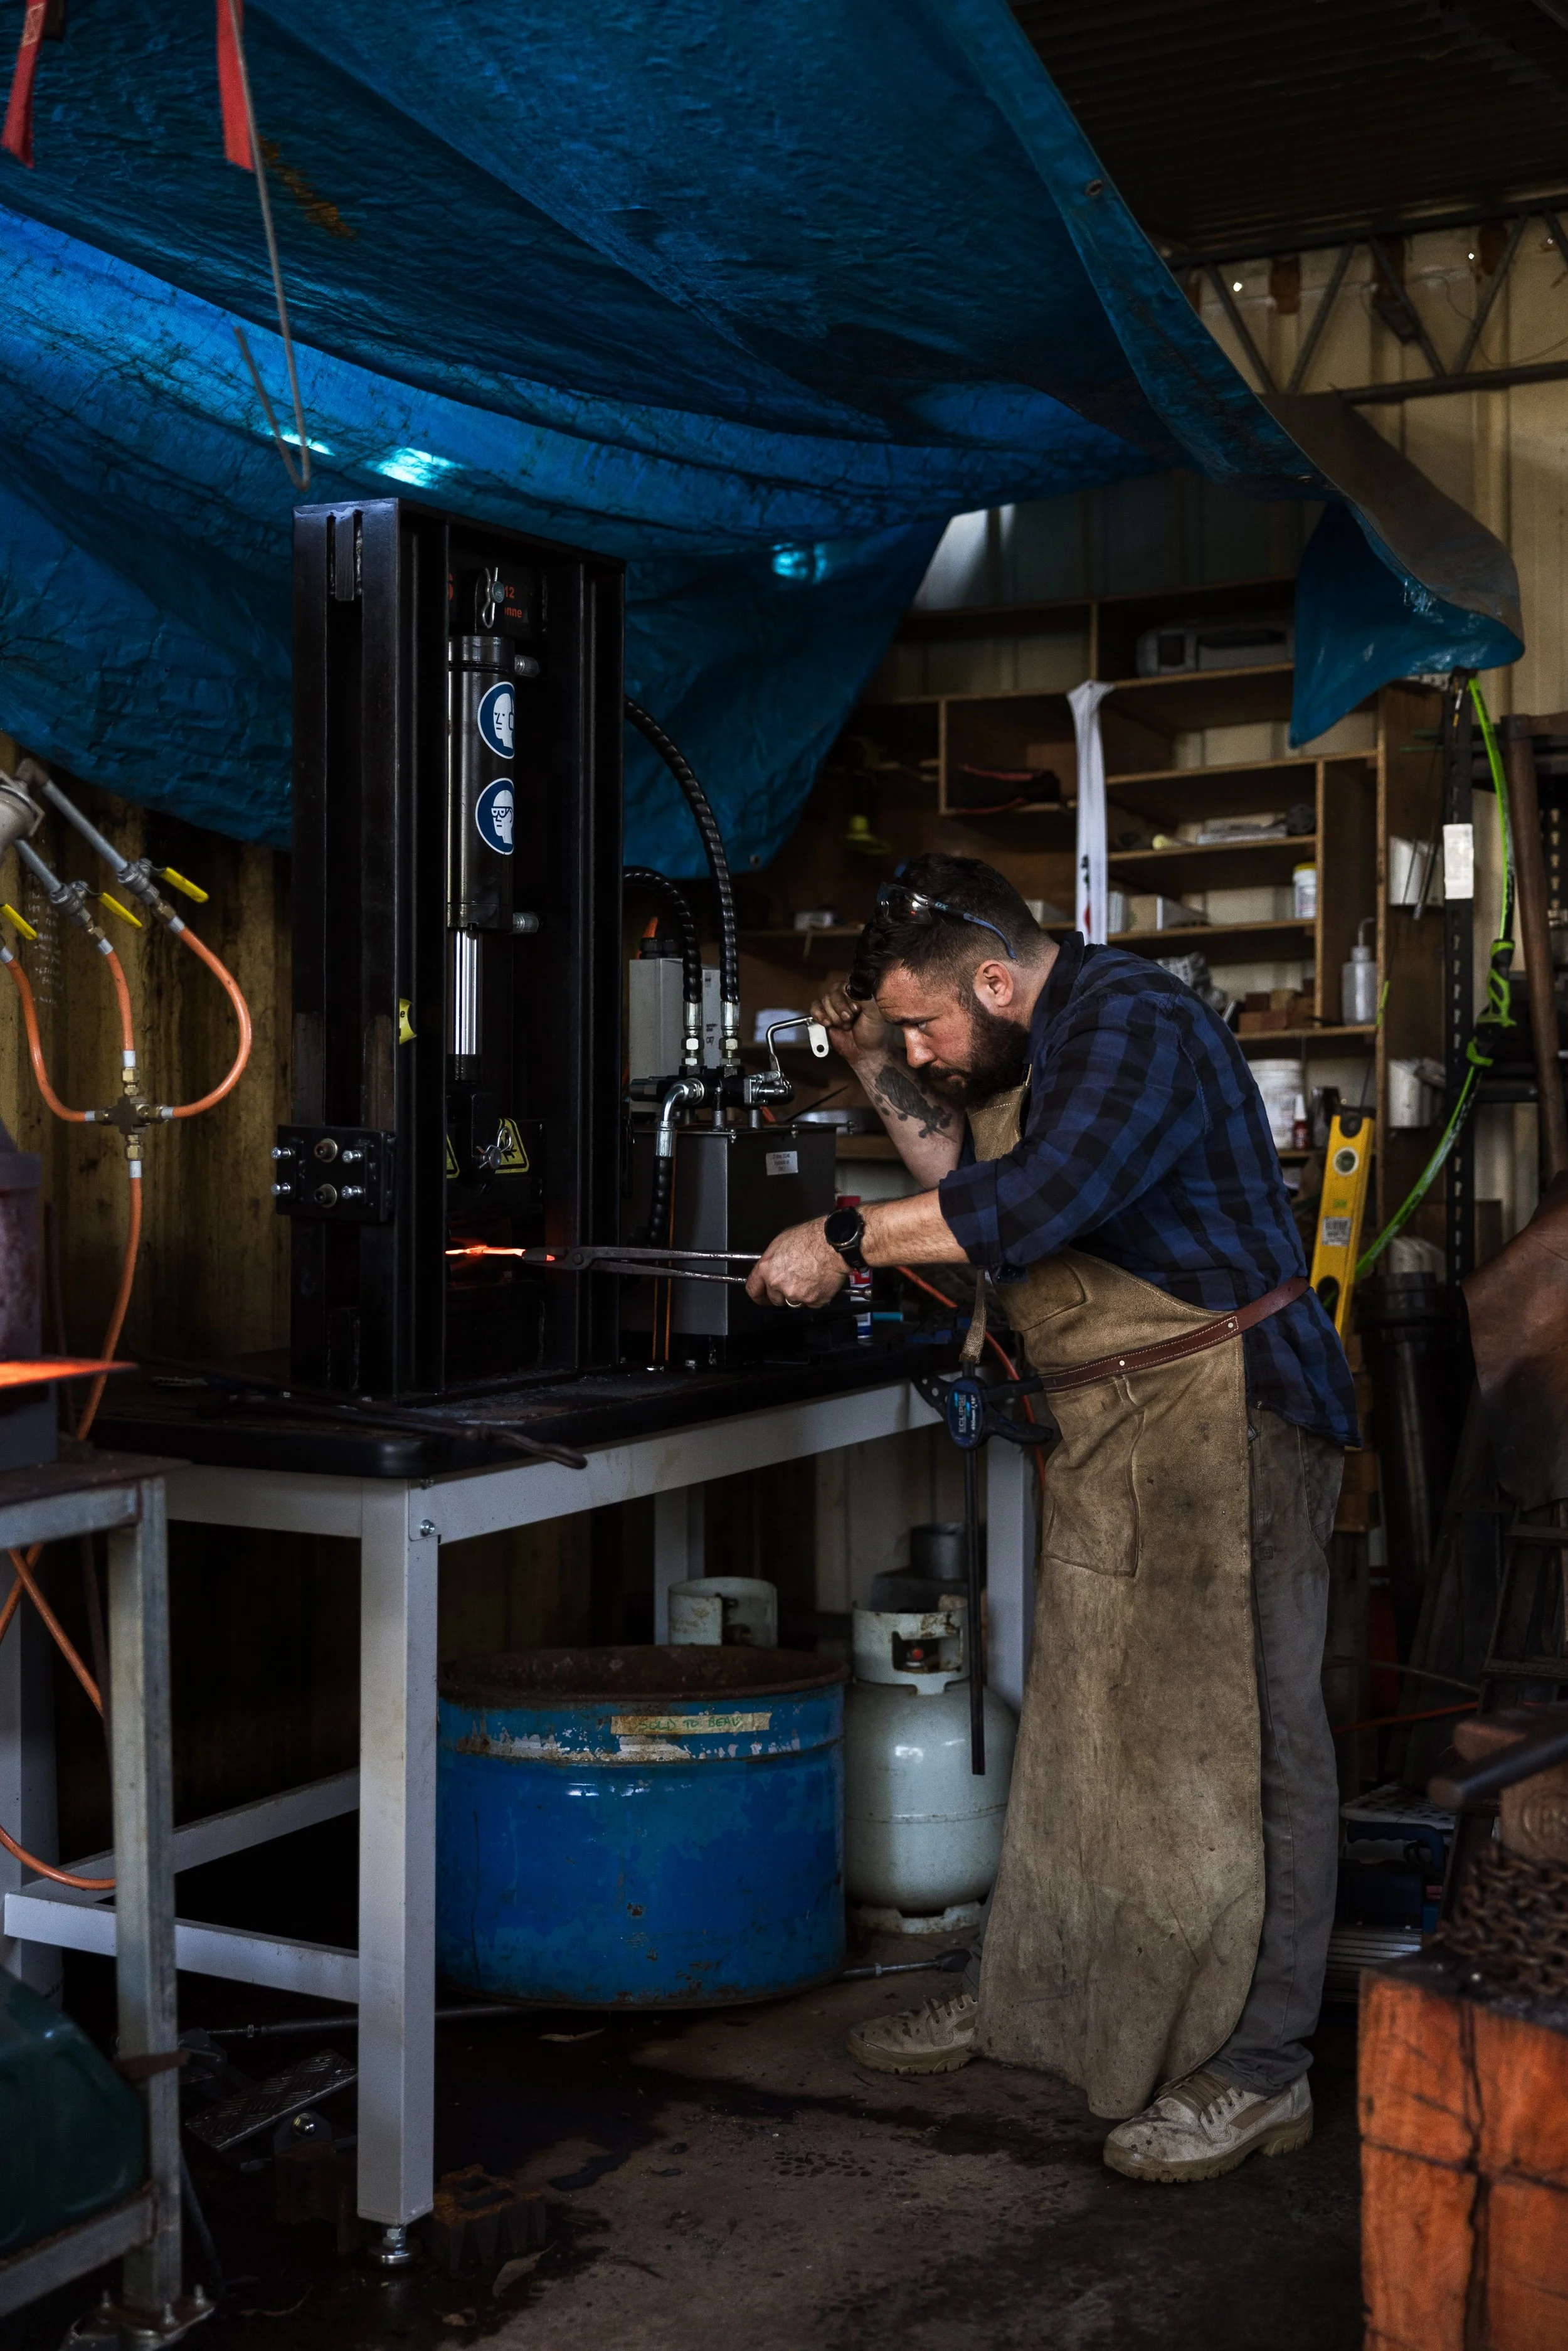
Mechanical advantage.
Swinging a hammer is absolutely as fun as it looks but it comes with short and long term impacts when done by yourself. A mechanical press or power hammer is often used by makers the world over.
-
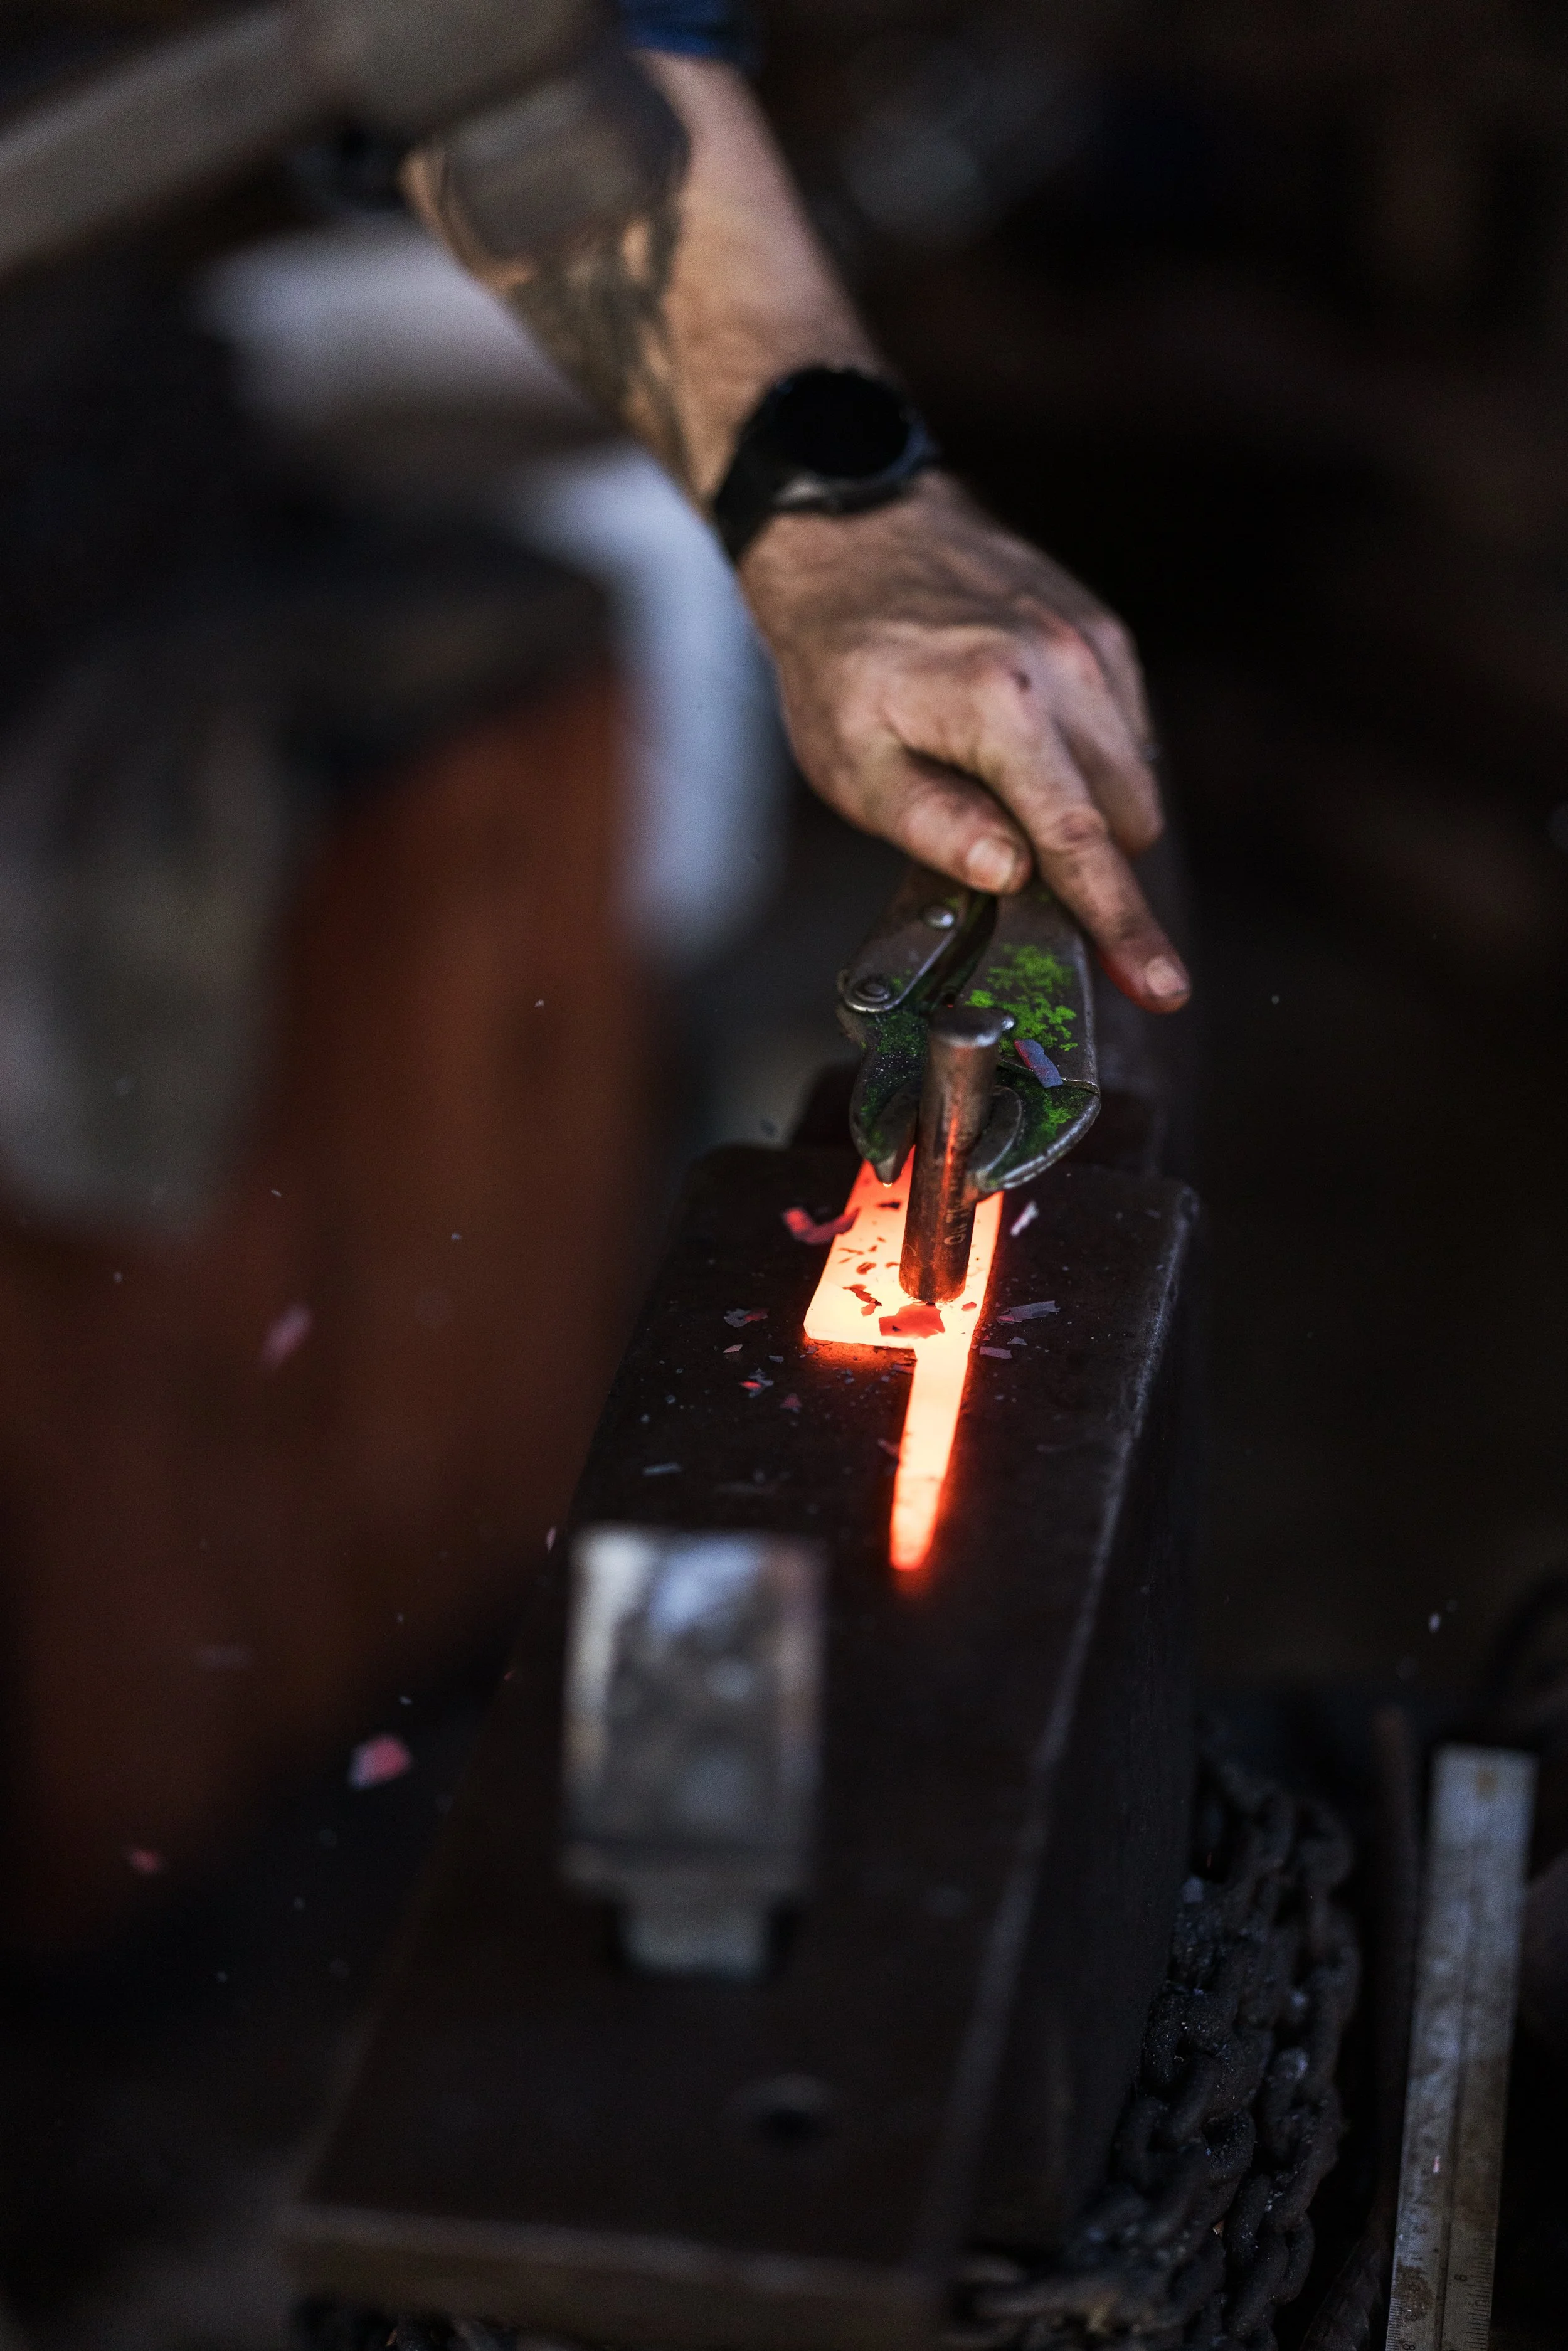
Shaping the blade.
After the tang is roughly formed, the diagonal cut is rounded and the material stretched both in width and length. A gradual taper is worked into the blade and it is constantly corrected for size and shape throughout this process. Due to the high temperatures, the surface of the steel oxidises, forming scale. This must be removed to avoid driving impurities into the blade. A wire brush is often used, however I prefer to use water on the anvil. This causes small steam explosions that blast the scale away.
-
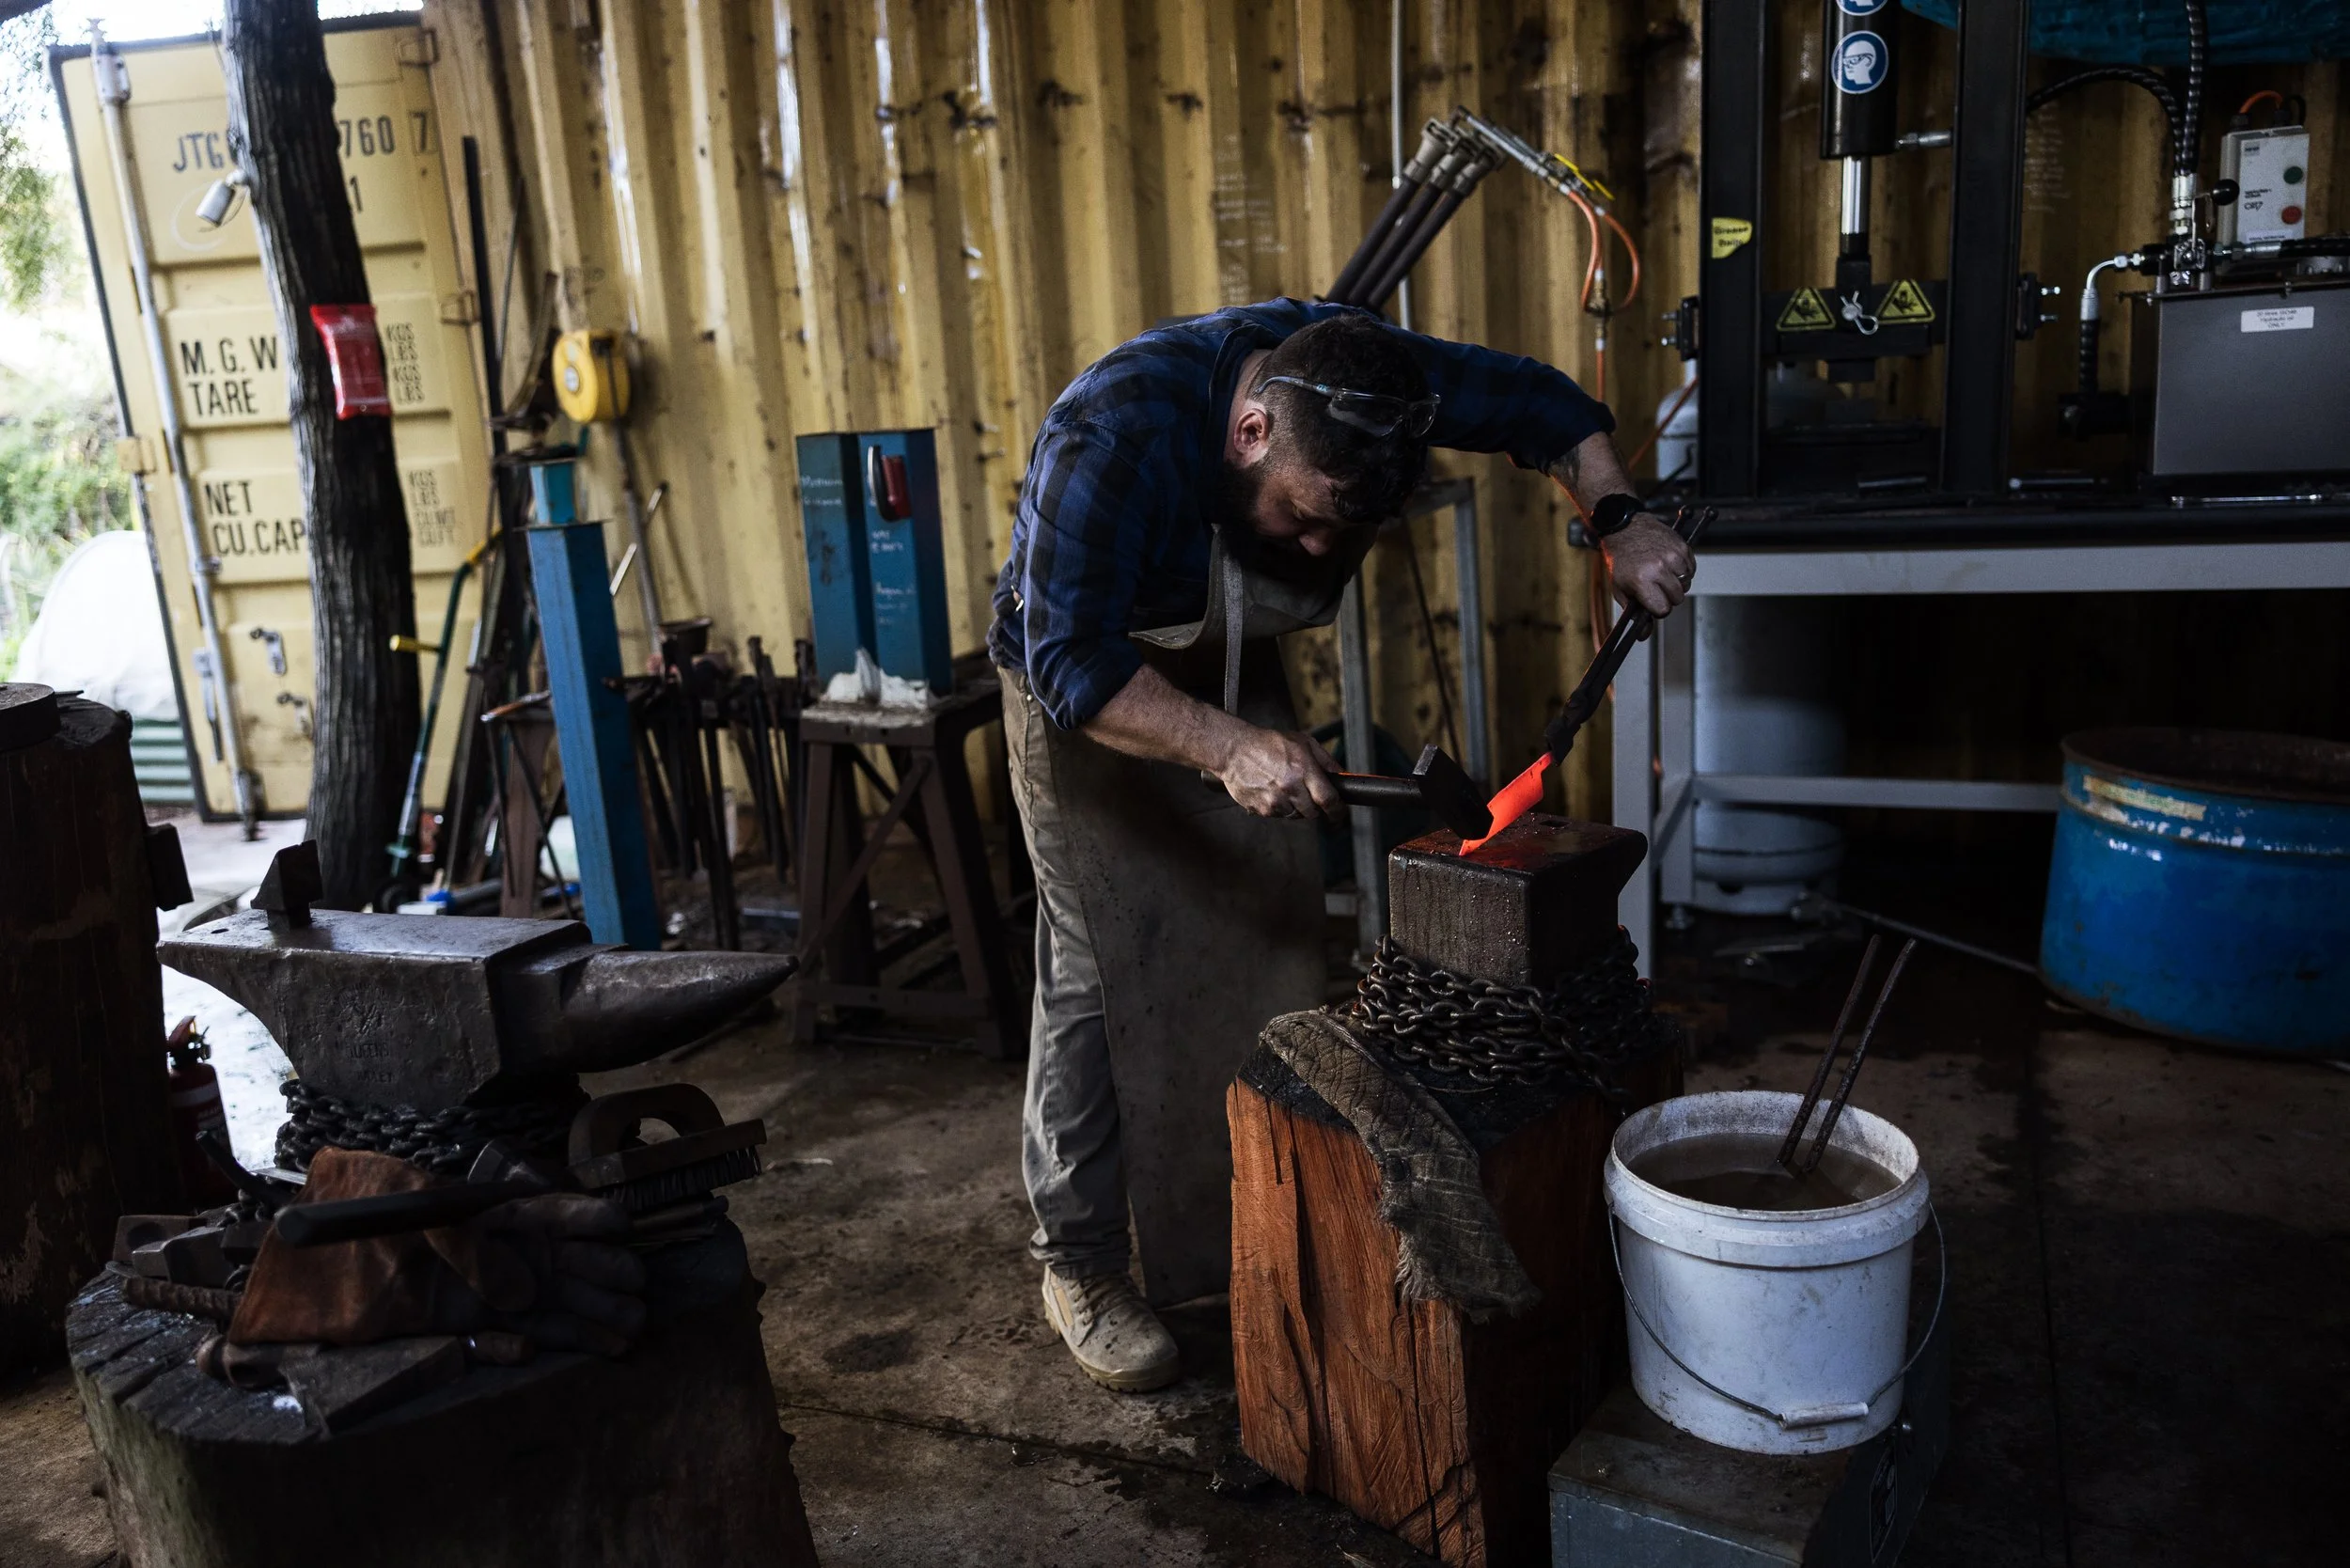
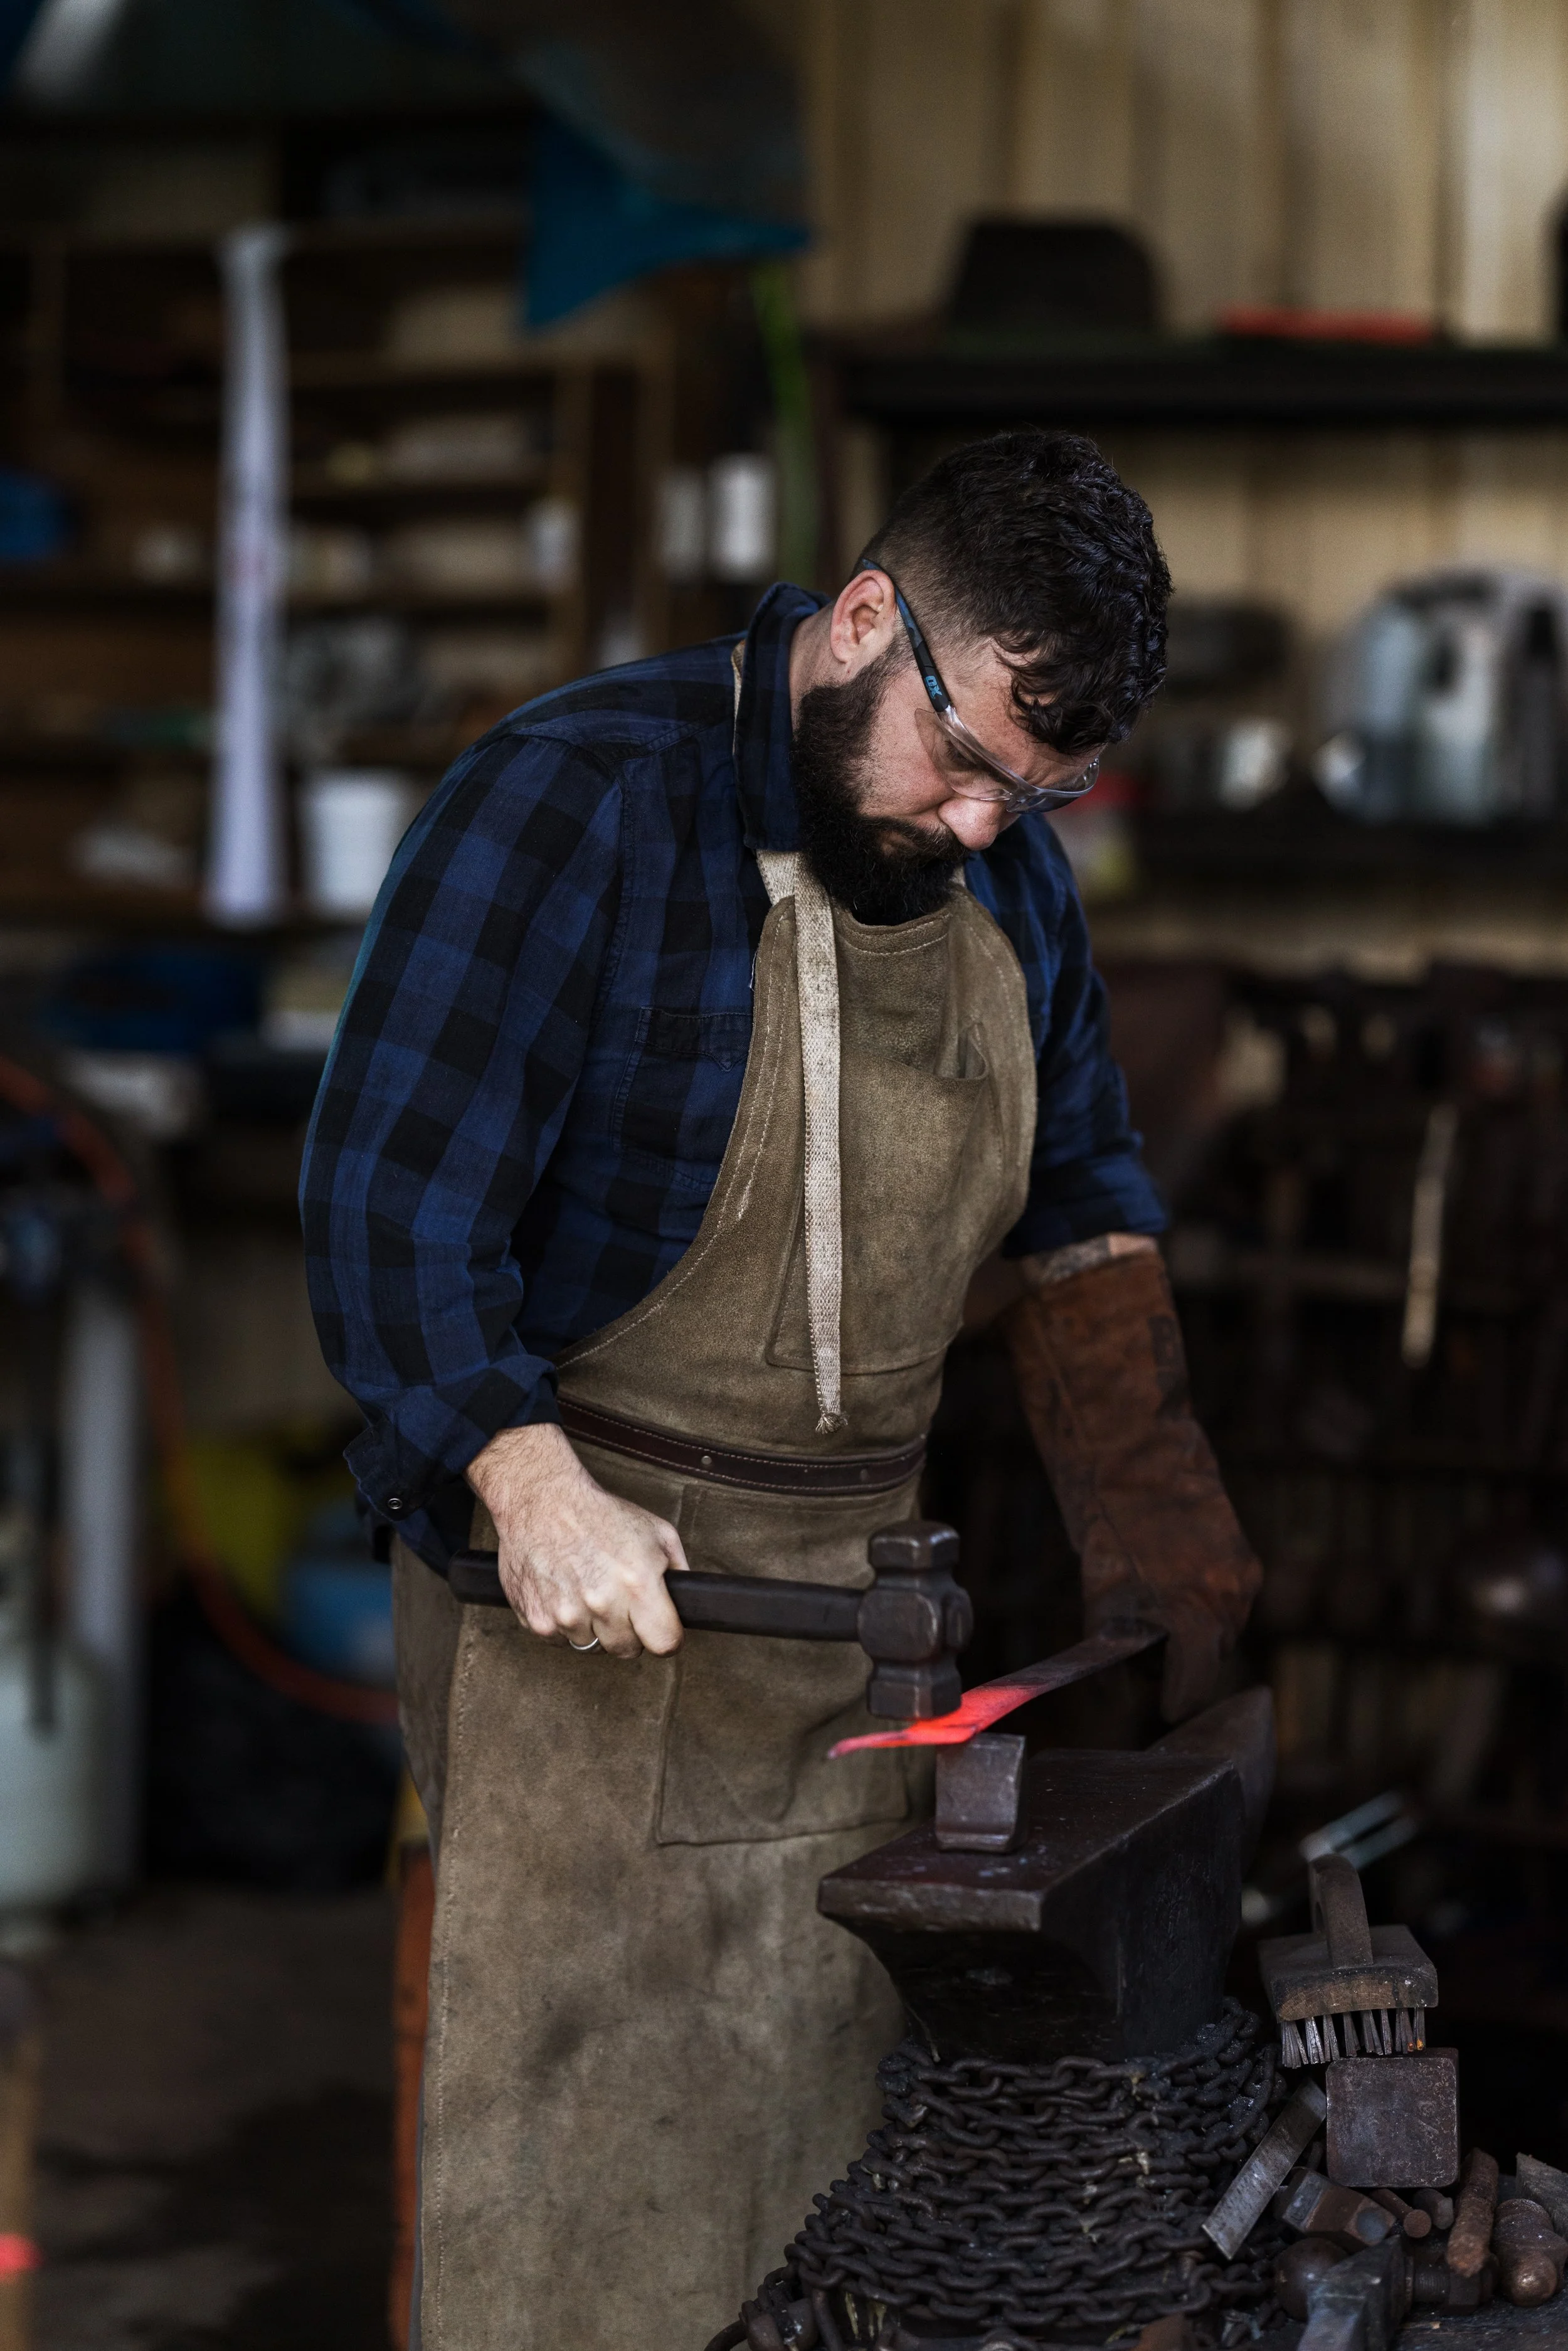
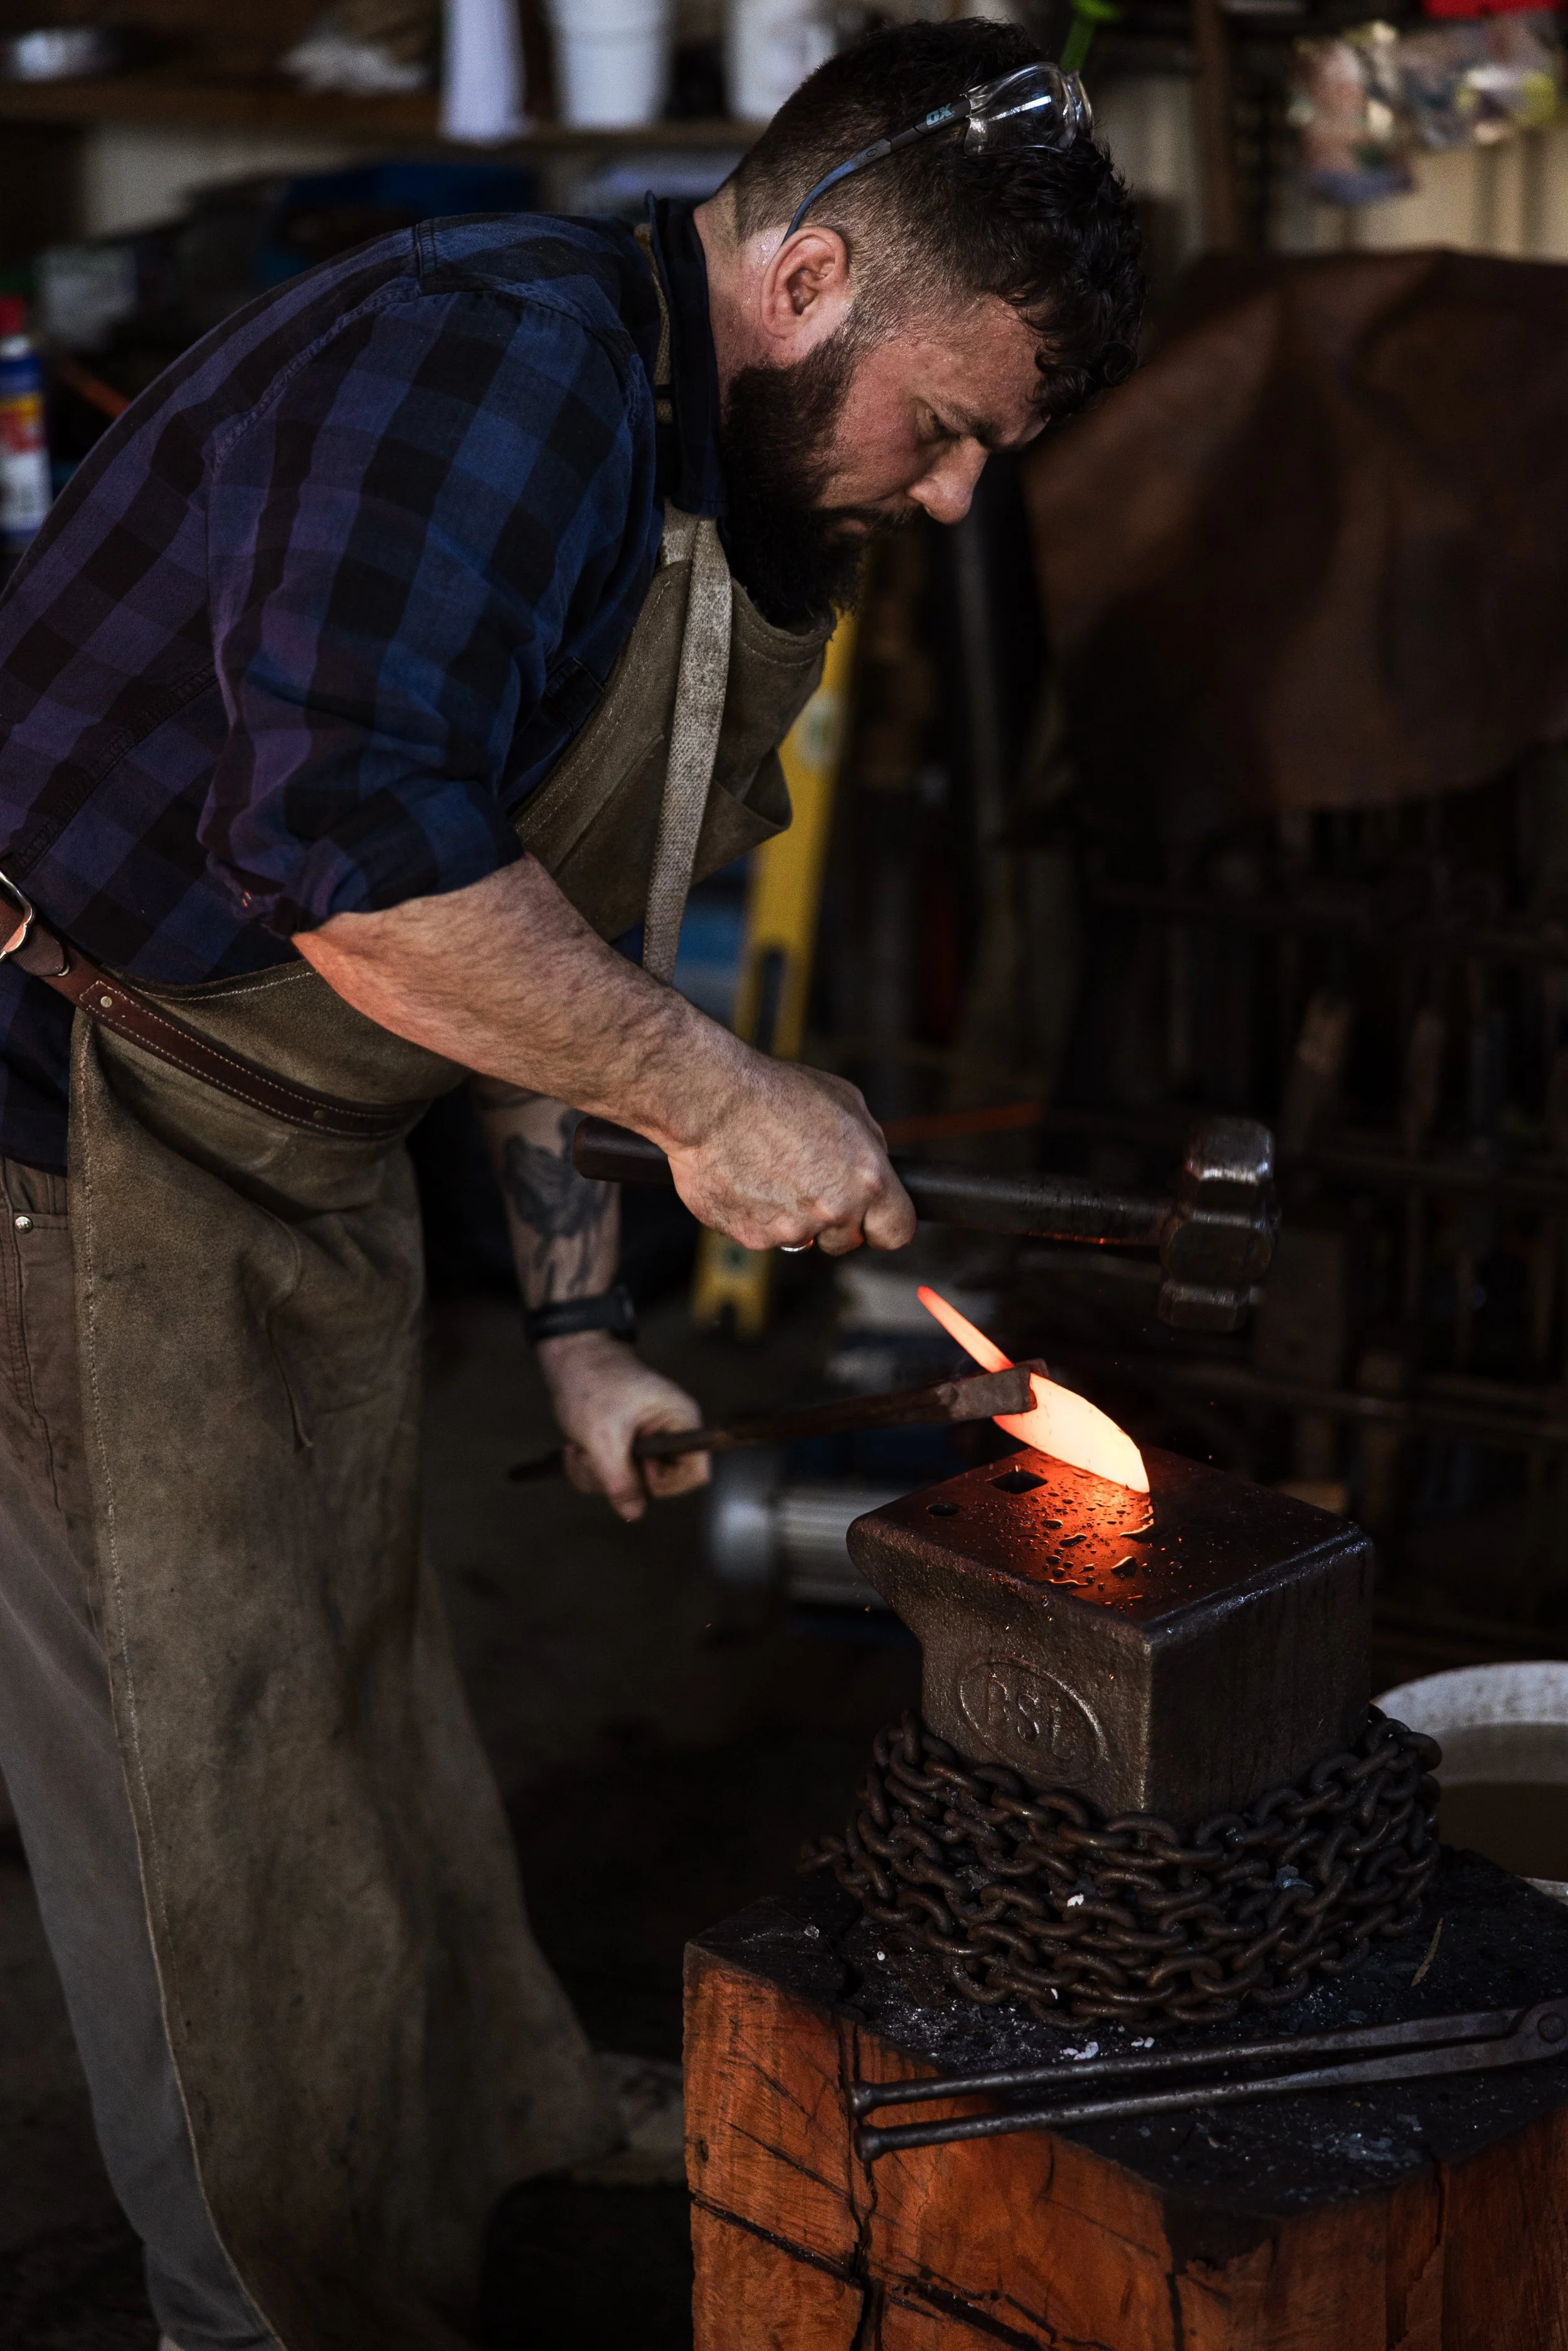
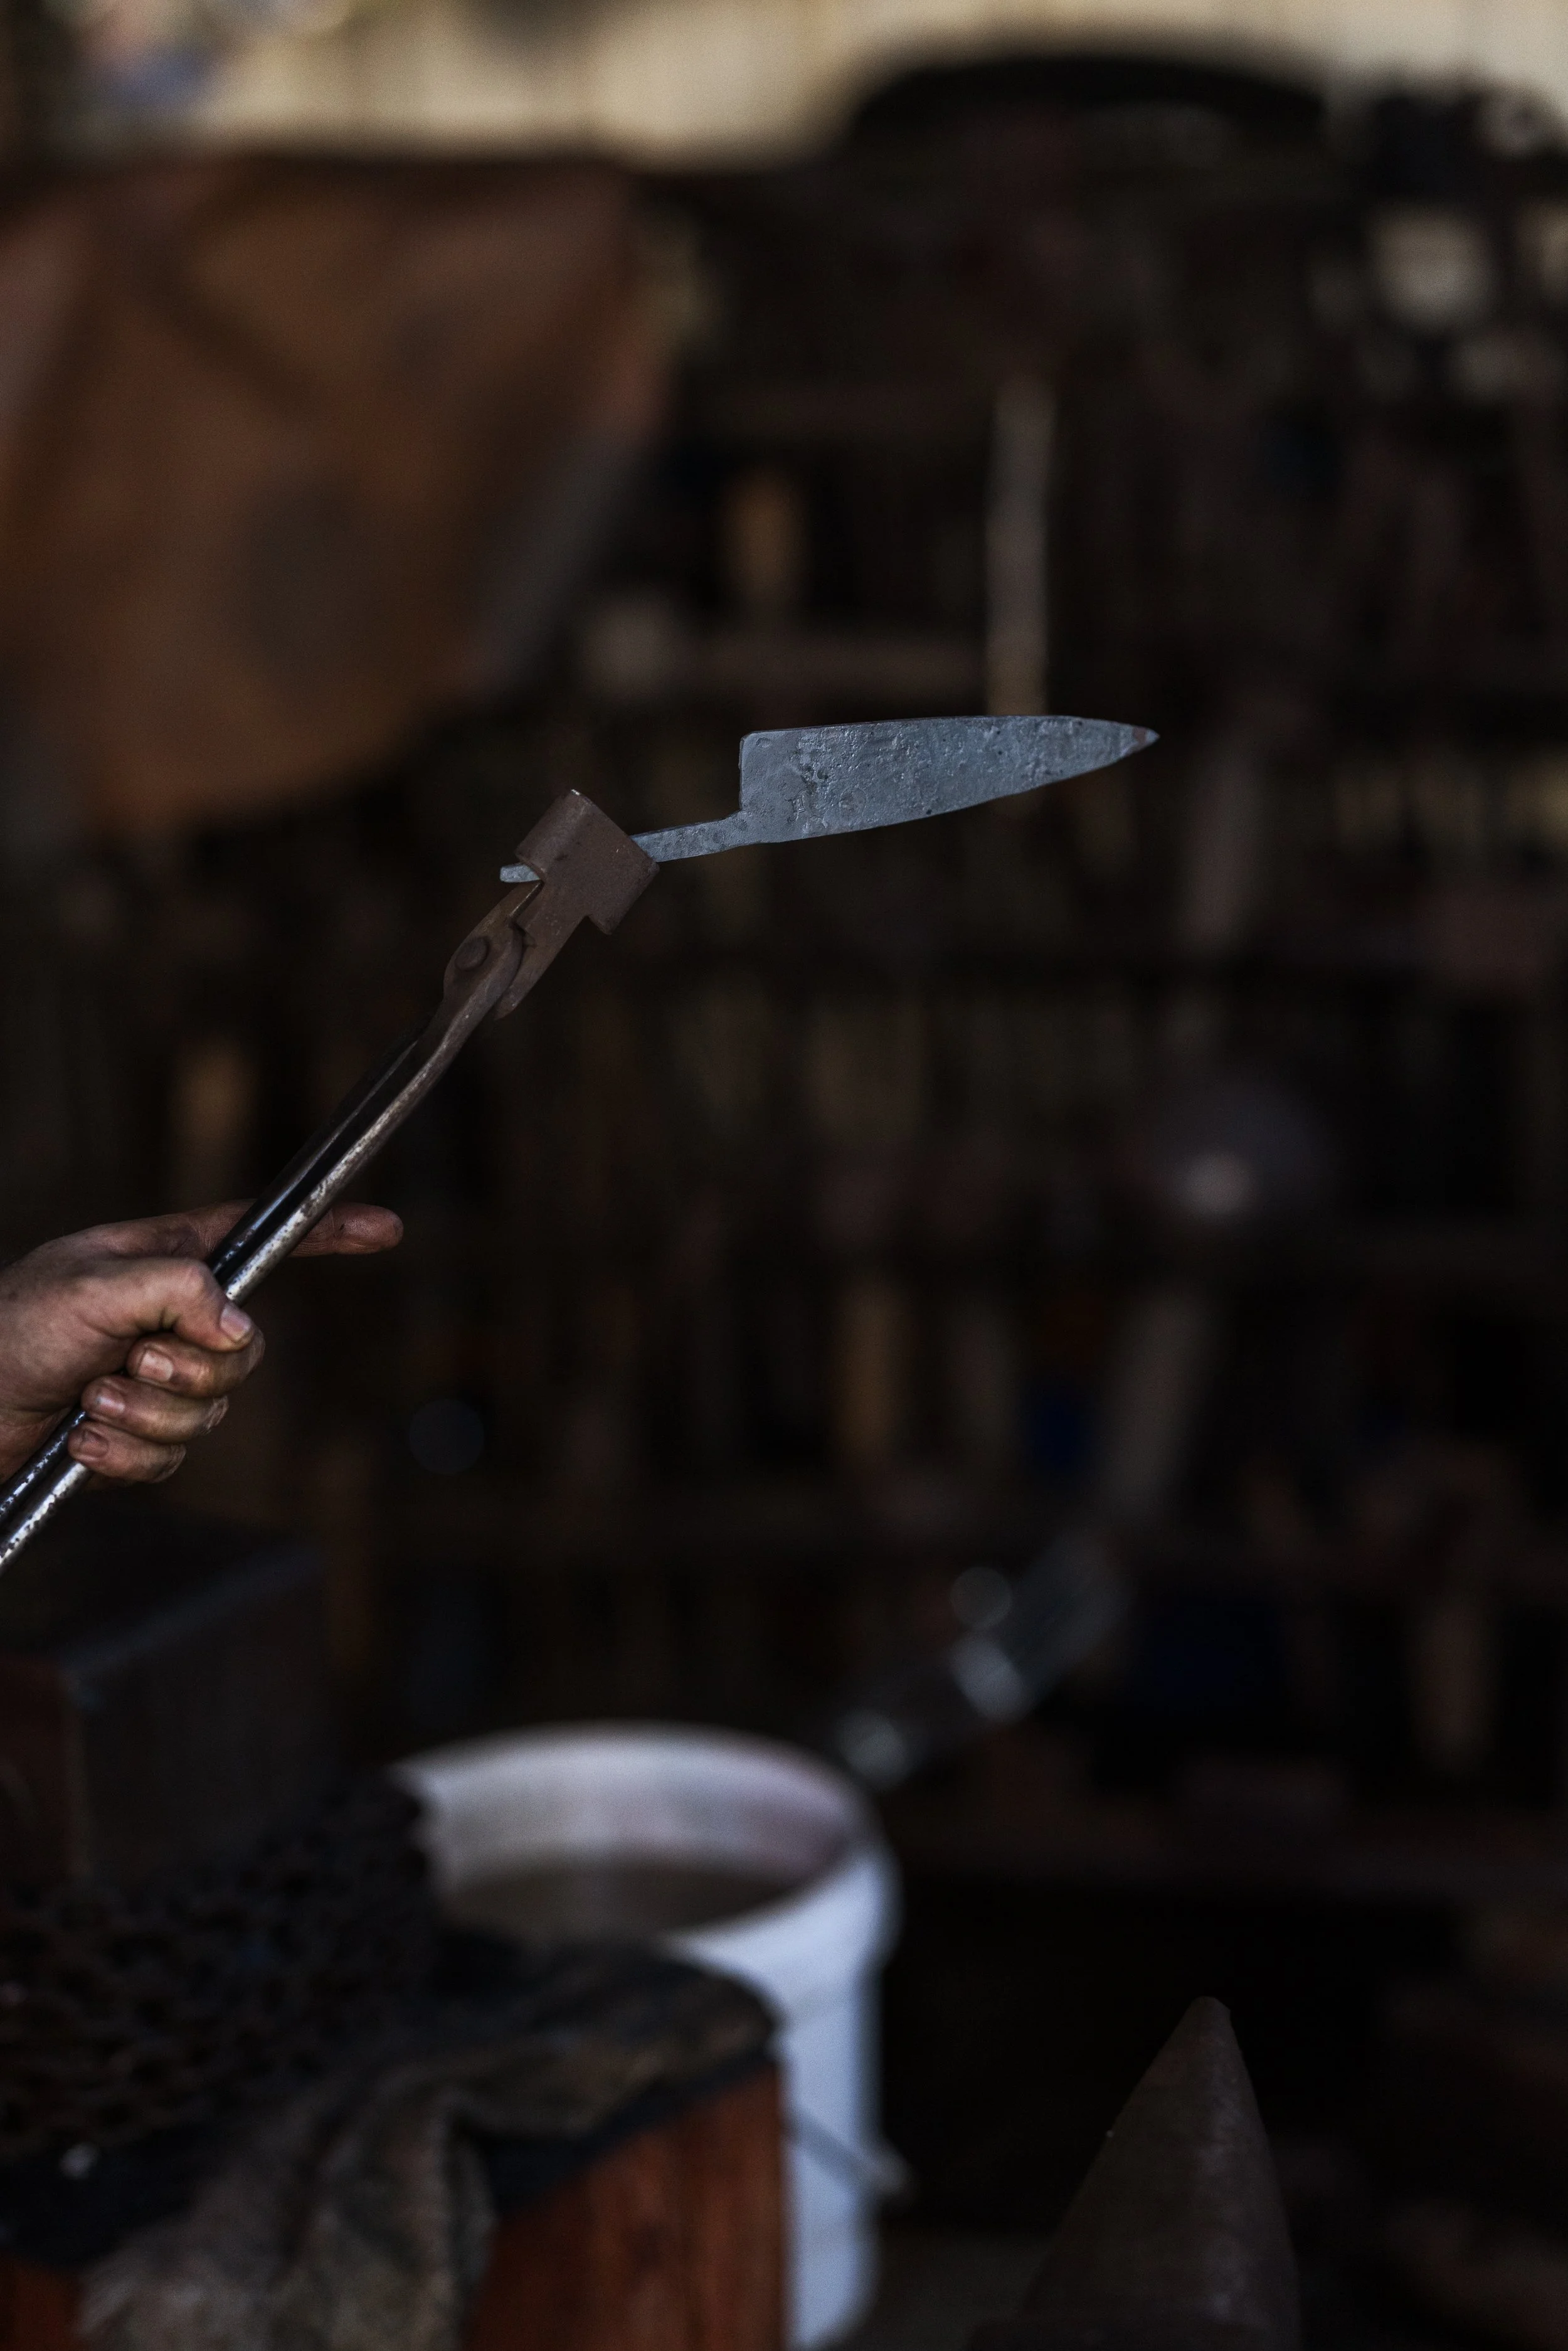
Creating the tip.
The shape of the tip is important for aesthetics and functionality. By this stage, the steel has been hammered to relatively thin proportions and will easily warp or crease. Light, accurate hammer work is needed. In this image you can see a good view of my smithy, with an antique British anvil and a range of tools. A bucket of water allows me to cool my tongs and other tools. Chains around my anvils serve to muffle the ringing as they are struck.
-
Maker's mark.
Every maker has their own logo, signature or marking. Here I am using a steel stamp to punch my mark into the blade. A Lee Enfield bayonet under a cross peen hammer represents my old and new life, intersected by my initials. On some blades, a hot stamping is not feasible so an alternative logo is etched into the surface.
-
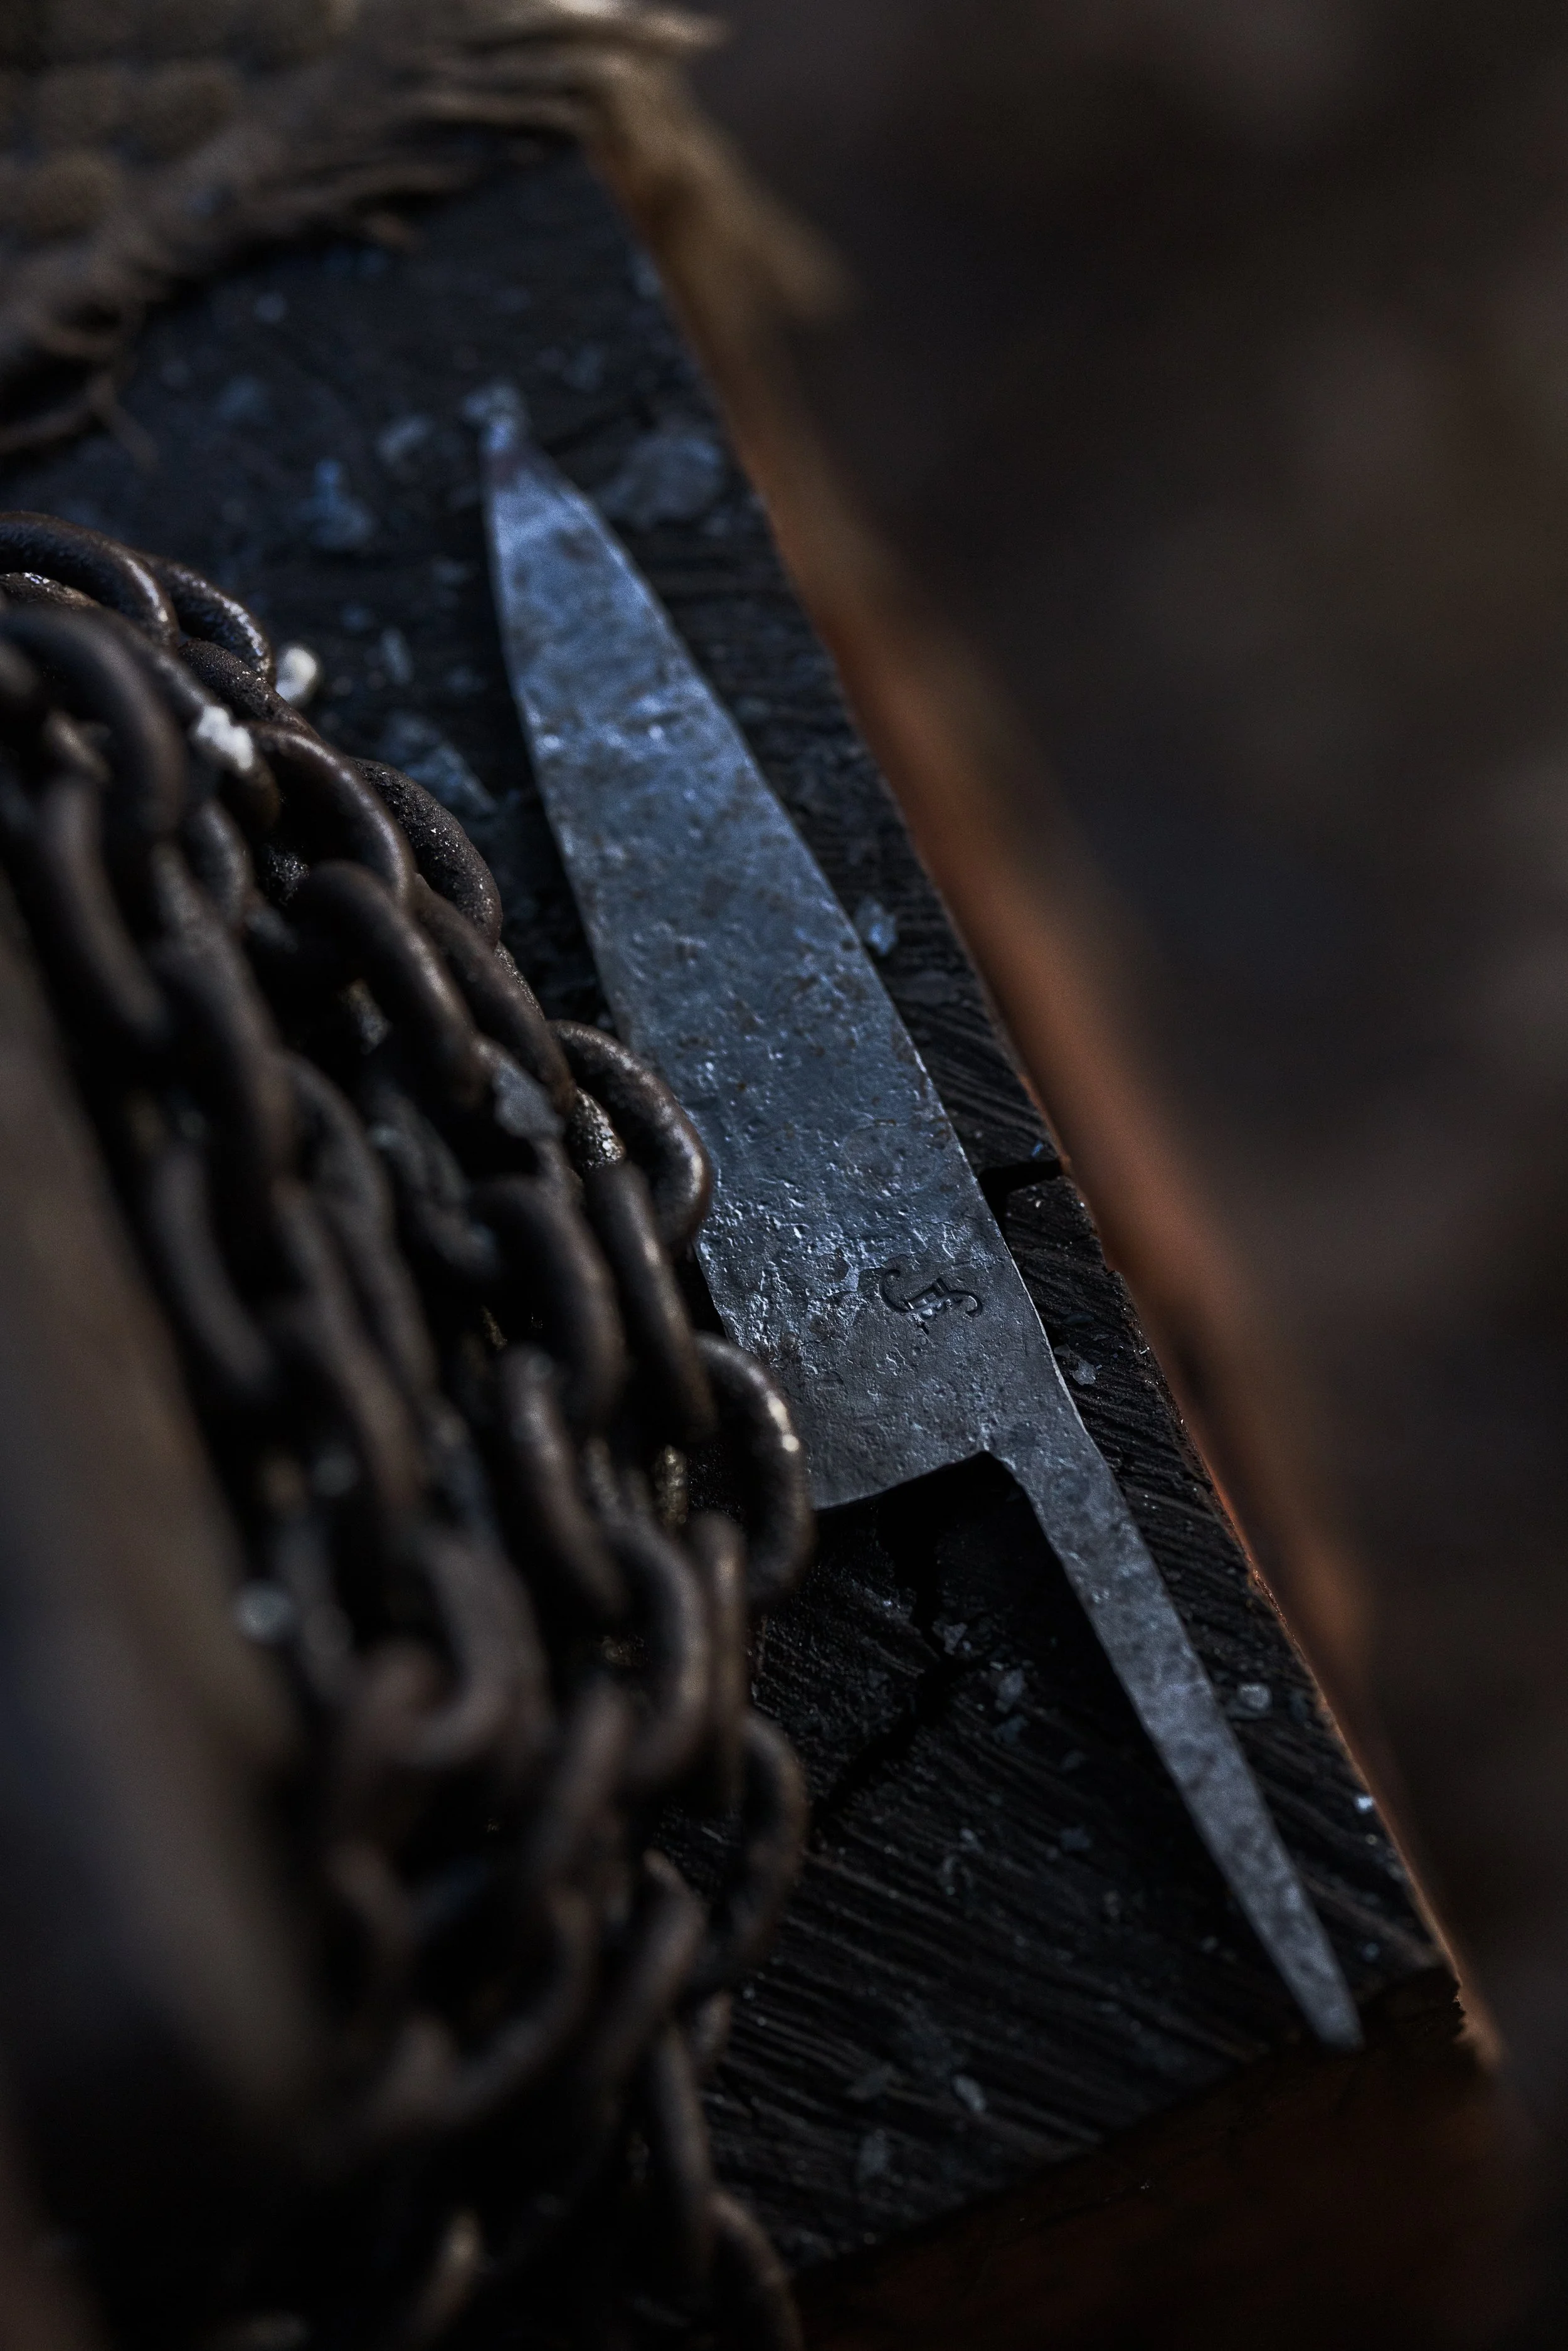
Straightening.
At the end of the forging process, final straightening and surface finishing is done, at lower heats. In this image, the steel has only just cooled to black and is still in excess of 500° C, allowing small corrections to be made.
-
Normalising and annealing.
During forging, the repeated heating and cooling increases the grain size of the steel. Cycles of controlled heating and air cooling are needed to refine the micro structure and improve the steel’s properties such as toughness and overall strength. Once normalising is completed, the steel is heated to a critical temperature and cooled as slowly as possible either in a kiln or forge. This final process is called annealing, and softens the steel for grinding as well as further relieving internal stresses.
-

Rough grinding.
After the steel has been softened via annealing, the overall profile is shaped. The goal at this stage is to prepare the blade to be hardened successfully.
-
Finishing the blade.
The next stage is hardening. The blade is heated to a specific temperature that puts the carbon molecules into solution, and rapidly cooled in oil or water to trap them and create a very hard material. This is then tempered over several cycles to reduce brittleness and improve toughness. Final grinding, sanding and polishing procedes hand fitting. Handles are made in-house from predominantly Australian hardwoods, either stabilised or natural. Each piece can take between 10 to 20 hours of work.